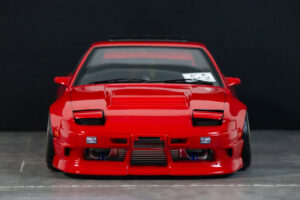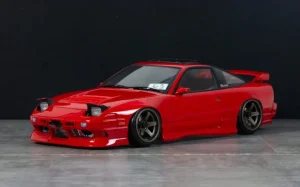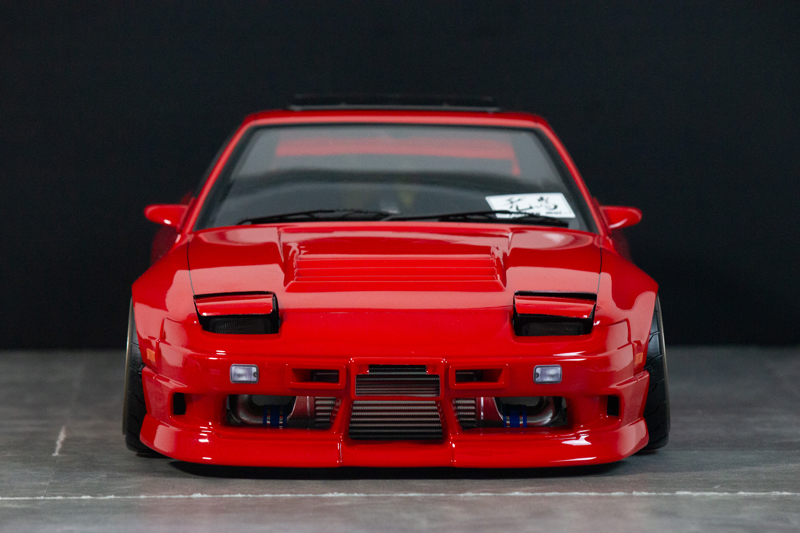
The “180SX / Pop-Up Headlights Kit” (Part No.: APA-1586), scheduled for release on November 25, 2026, is a kit that faithfully reproduces the 180SX’s retractable (pop-up) headlights so they can actually be opened and closed.
In this article, we’ll explain how the lights pop up, using diagrams from the instruction manual and photos of the finished model.
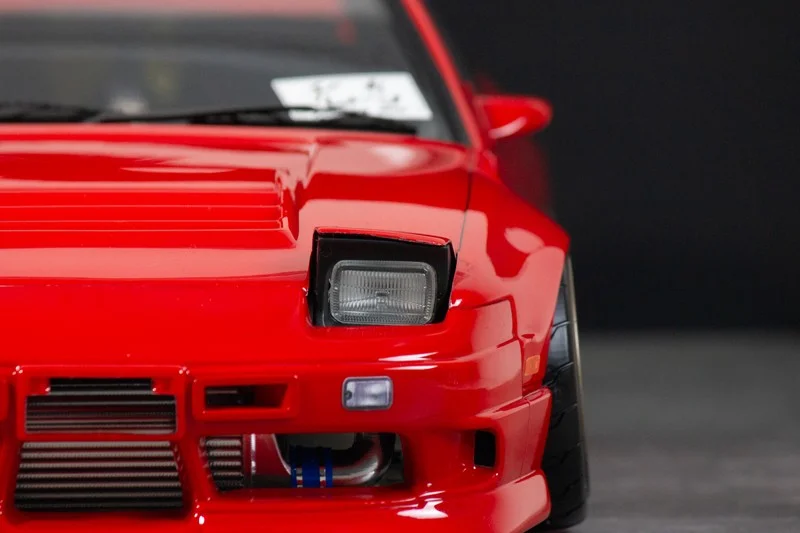
Closed Faces and Open Faces
You can switch between the closed and open light configurations while keeping the same body.
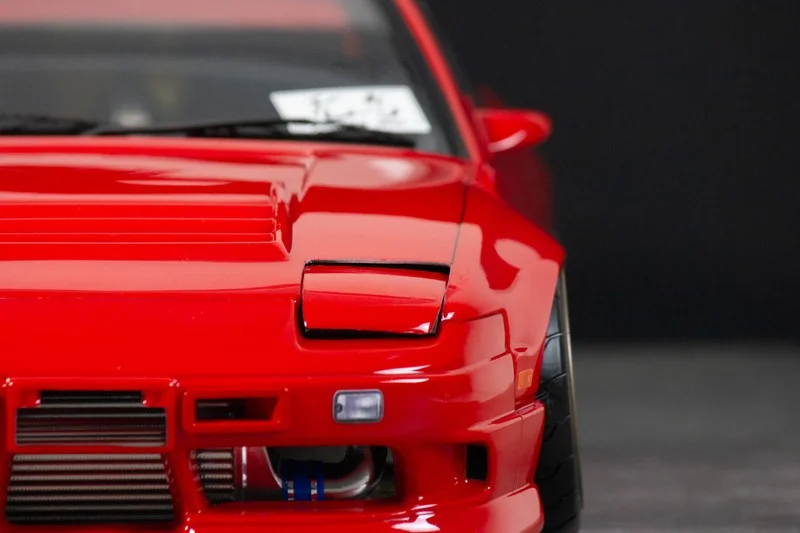
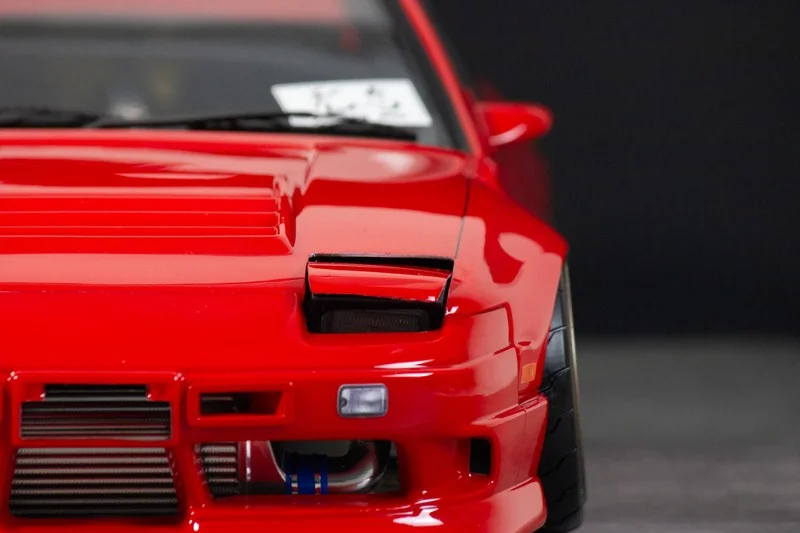
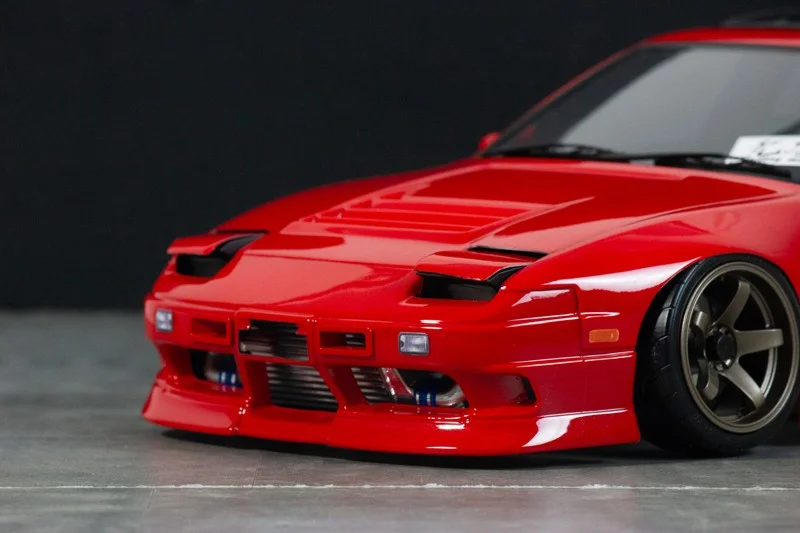
When closed, the front end looks clean and sleek. When opened, the lens and reflector appear, revealing the “face of the 180SX.” This kit isn’t just designed for the open configuration—it lets you enjoy both the closed and open forms.
How the Light Turns On
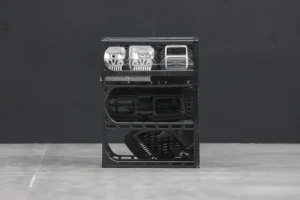
The kit consists of three main parts: the “light unit,” the “base,” and the “opening/closing bar.”
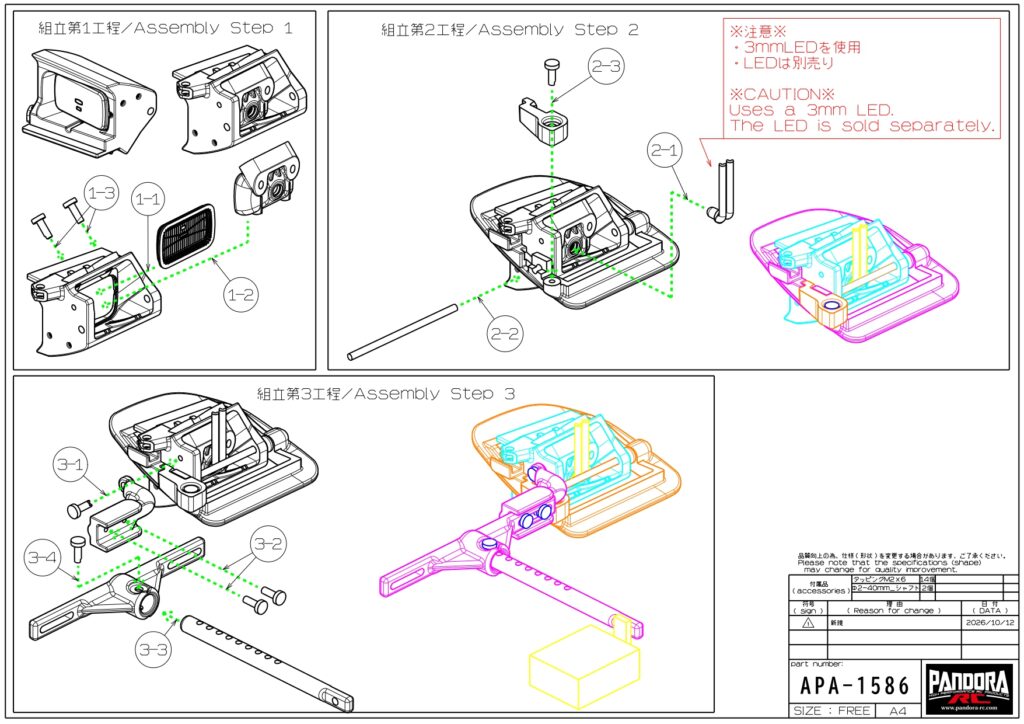
- Light Unit: This is the part of the light that incorporates the lens and reflector.
- Base: The light unit is attached to the base using the included shaft (φ2 × 40 mm). The light pivots around this shaft.
- Opening/Closing Bar: This is the bar connected to the light. The bar’s movement is transmitted to the light through the parts, causing the light to open and close.
The parts that attach to the opening/closing bar are designed to slide for position adjustment. They can be adjusted to fit the body to which they are attached.
It can also be set to a half-open position
In response to the question, “Can’t you make it stay half-open?” we’ve included a mechanism that mechanically replicates the half-open position. By inserting an M2 nut and an M2 screw approximately 15 mm long, you can secure the light in the half-open position.
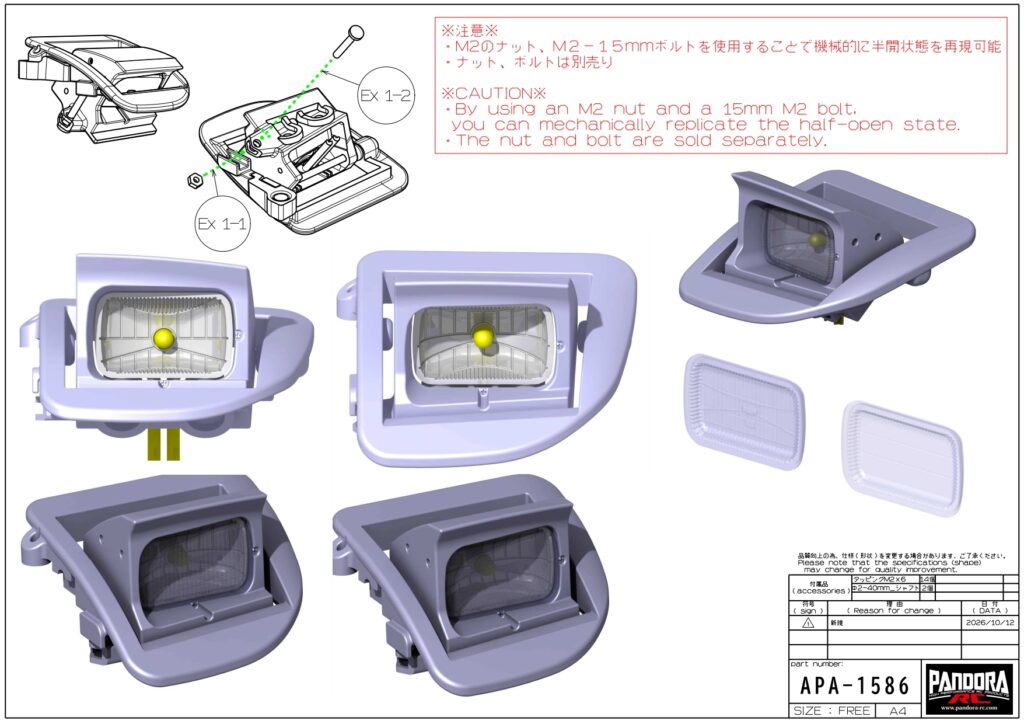
*M2 nuts and M2 screws (approx. 15 mm) are not included. You can purchase them at home improvement stores or similar retailers.
Turn on the light
The reflector is designed to accommodate 3mm bullet-shaped LEDs. If you install the LEDs first when threading the shaft during assembly, they will fit neatly into place.
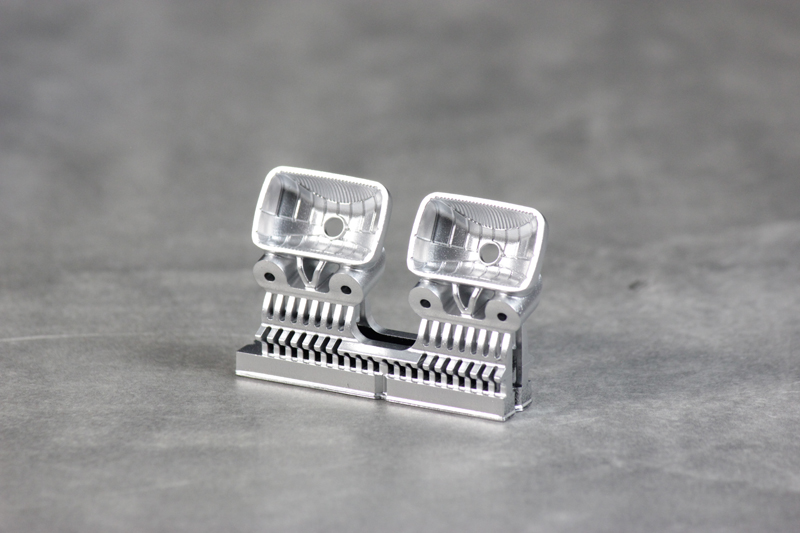
* LEDs are not included.
There are two types of lenses: “genuine” and “aftermarket.”
Two types of lenses are included. Both have a clear coat finish. If you take the model apart, you can swap out the lenses after reassembling it.
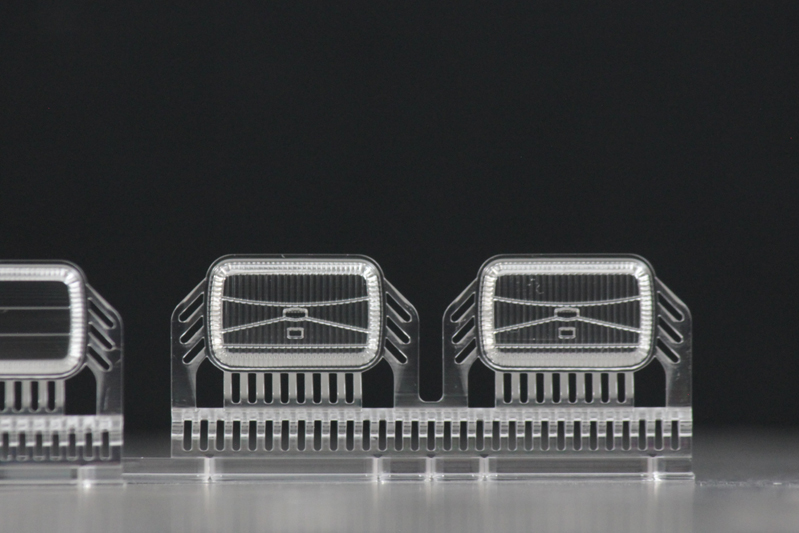
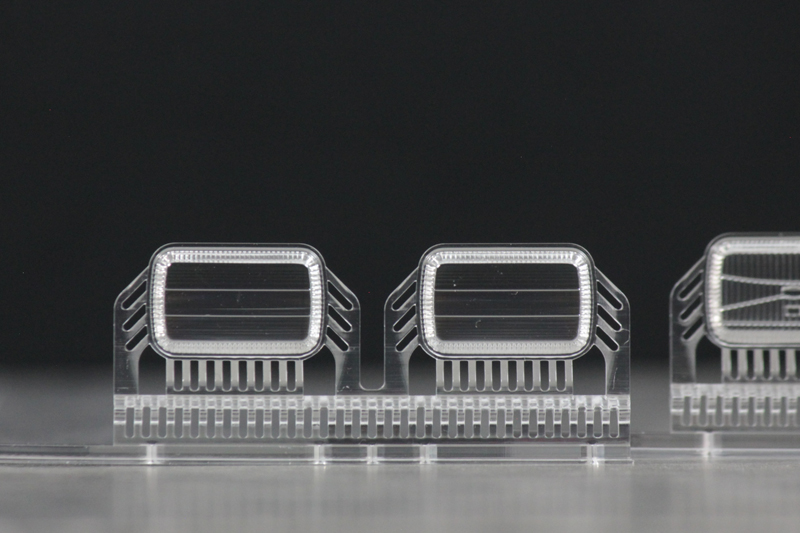
* Please be careful about the orientation when installing the genuine lens.
We use a proprietary resin for the material, selected for its durability and other properties. You can also watch our assembly tutorial video on YouTube to see the assembly process. In our next article, we’ll walk you through the assembly process, from removing the support structures to final installation.
[Important Notice]
- Additional items required: wire cutters, file, screwdriver, adhesive (such as Shoe Goo)
- LEDs, M2 nuts, and M2 screws for the half-open position are not included.
- Due to its universal design, minor adjustments may be necessary depending on the body being installed. Compatibility with bodies from other manufacturers has not been verified.
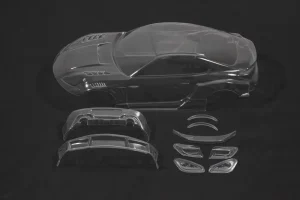
- The photos shown are examples of painted models and use parts and decals not included in the set.
- Specifications are subject to change without notice to improve product quality.