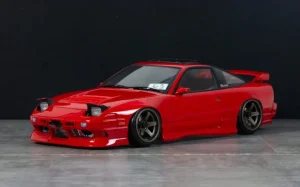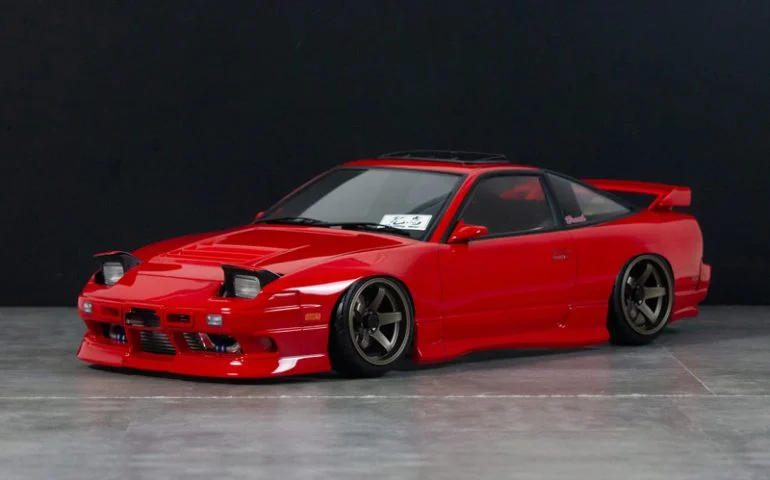
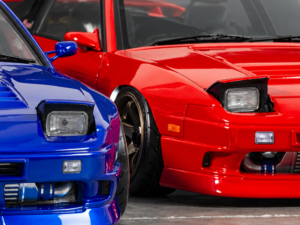
We photographed examples of PANDORA RC 180SX bodies fitted with the “Pop-Up Headlights Kit” (Part No.: APA-1586) and painted in red and blue.
From the closed position to the moment the lights slowly open and the car “wakes up”—take a look at these photos to see how the 180SX’s expression changes.
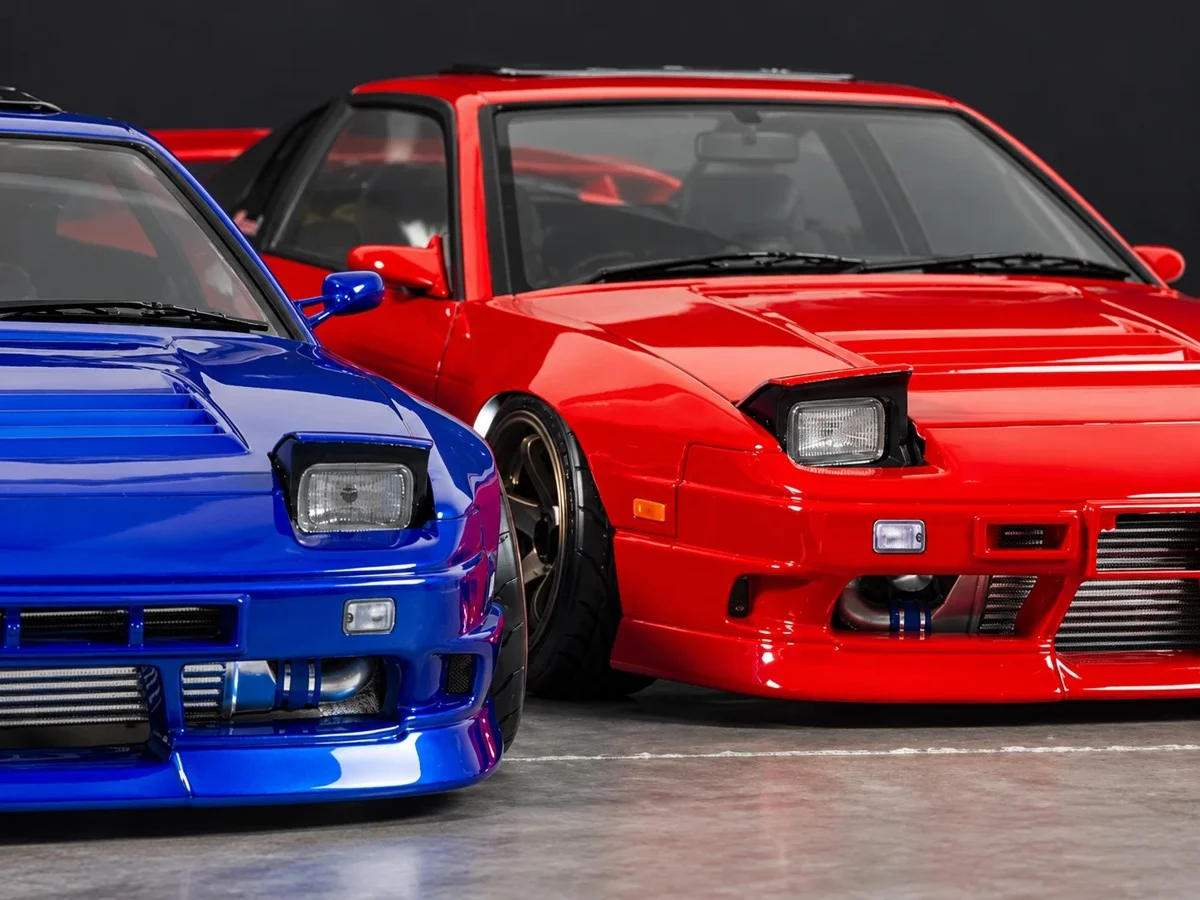
First, let’s start with the overall atmosphere
This is an 180SX with the headlights open. The body colors are red and blue. The wheels and aerodynamic parts shown are for demonstration purposes only and are not included in the kit.
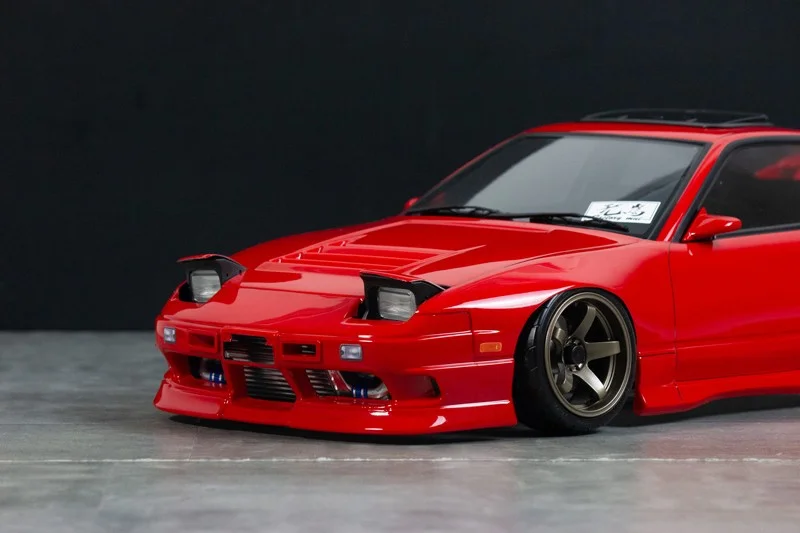
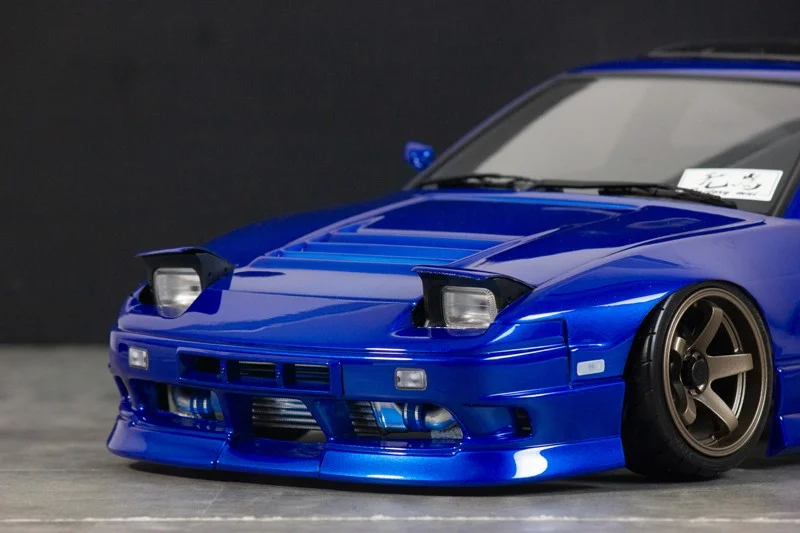
When the headlights turn on, the front end takes on a completely different look. The clean, streamlined nose when the headlights are off, and the distinct character when they’re on—you’ll enjoy this duality that’s unique to the 180SX.
Close, open. Light movement (red)
In the red sample photos, I took a series of shots showing the light gradually opening up.
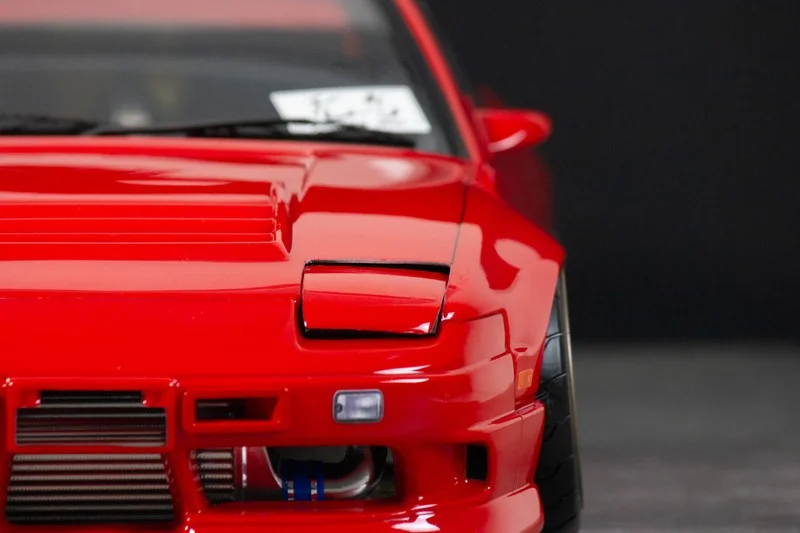
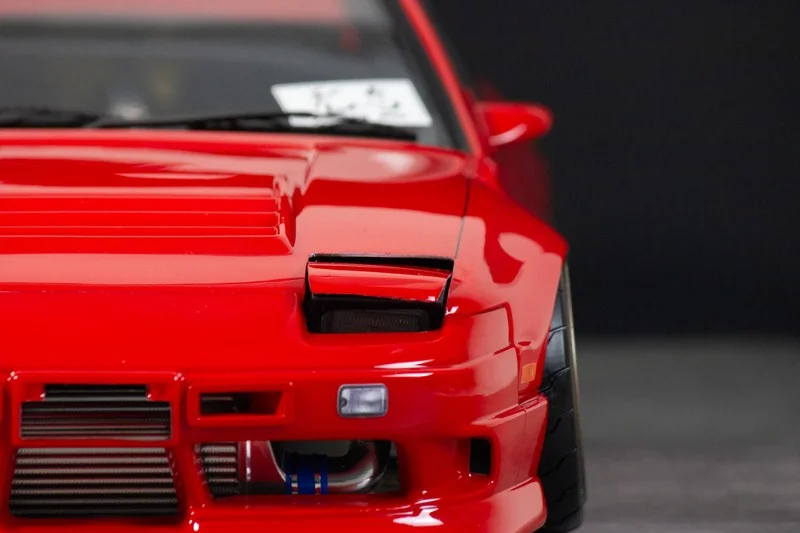
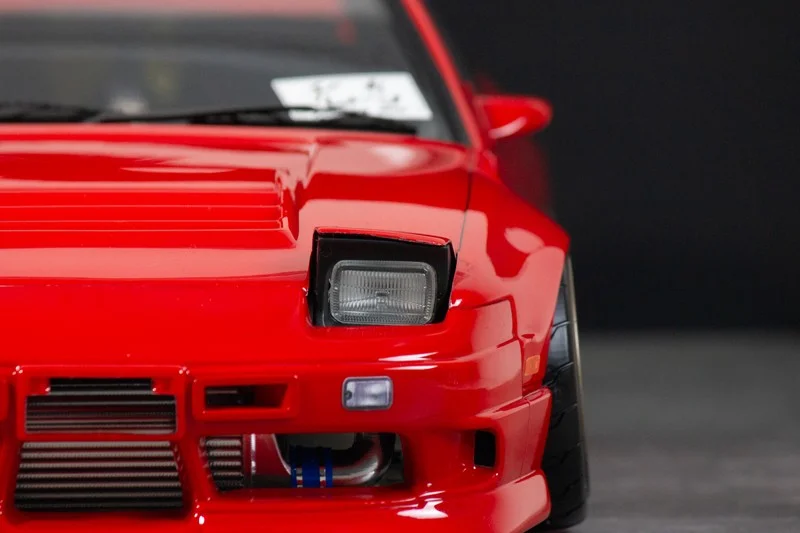
When closed, the light cover blends seamlessly with the body. When opened, the lens and reflector are revealed, instantly transforming it into the “face of the 180SX.”
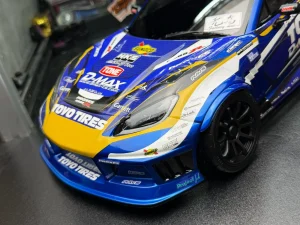
Even in the blue example,
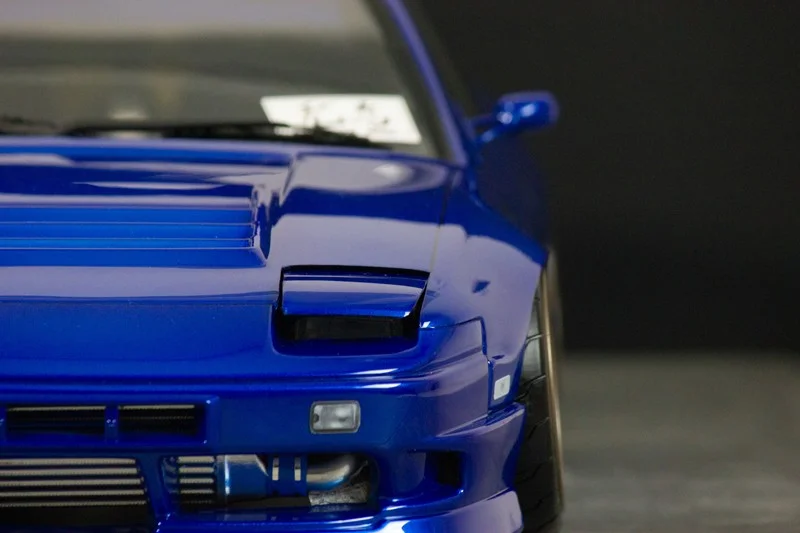
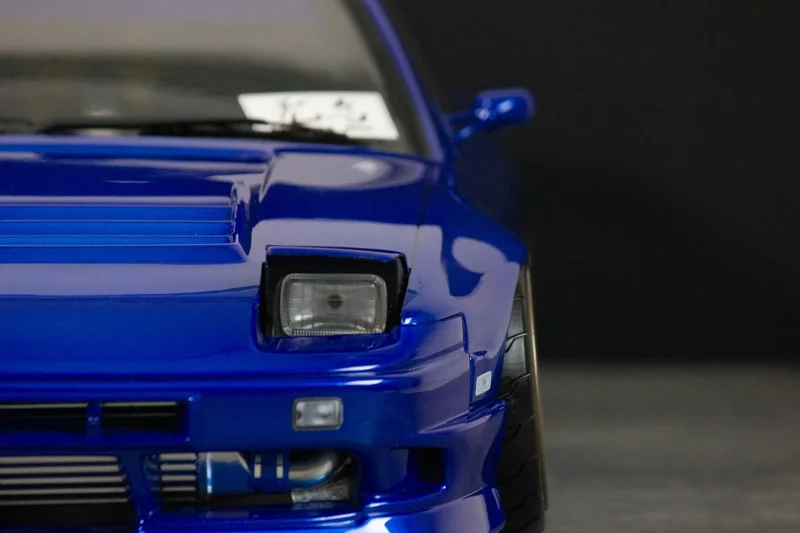
A Close-Up of the Details
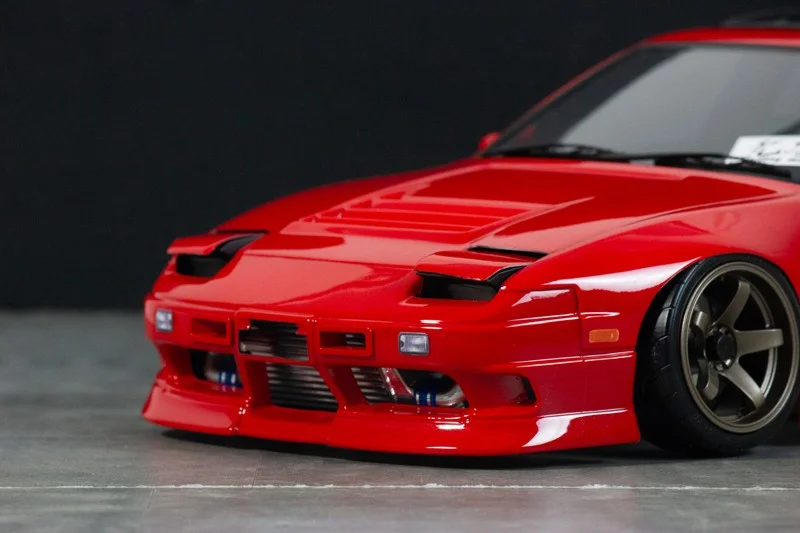
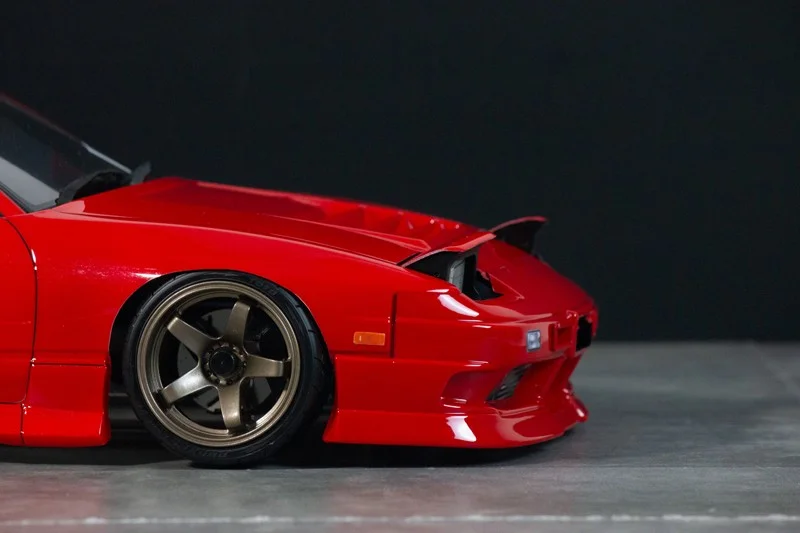
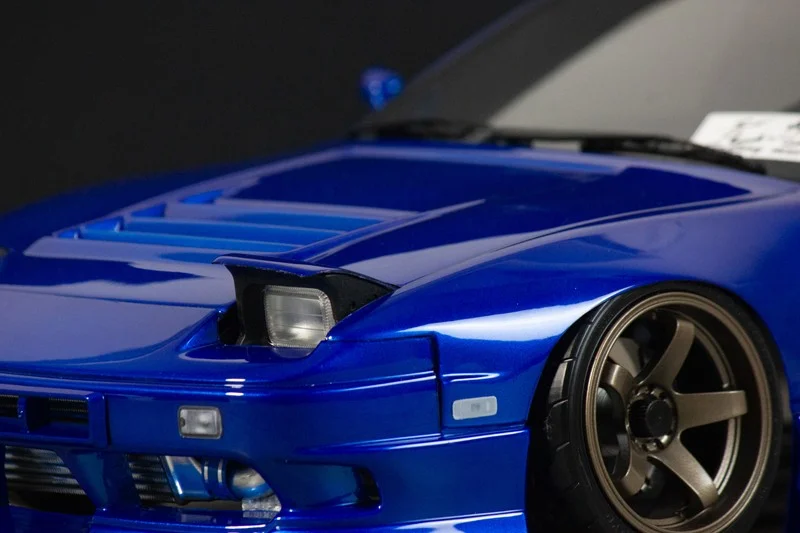
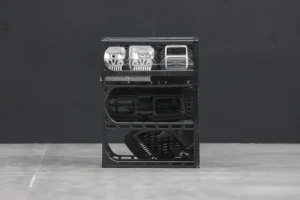
The reflectors have a metallic-finish coating, and the lenses have a clear coat. We use our proprietary resin, which is designed with durability and other factors in mind.
There are two types of lenses: “genuine” and “aftermarket” .
Two types of lenses are included, so you can choose the one you prefer. Do you want to capture the original feel of the 180SX, or change the look a bit? Deciding which one to choose is part of the fun of building it.
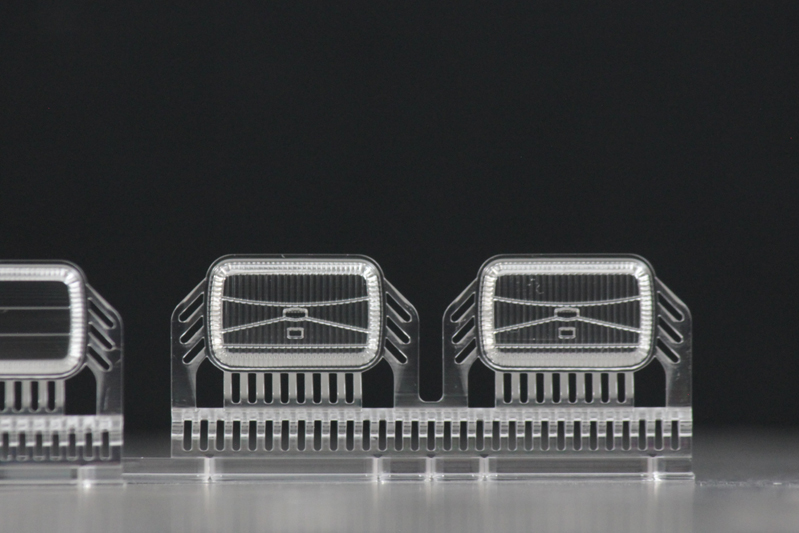
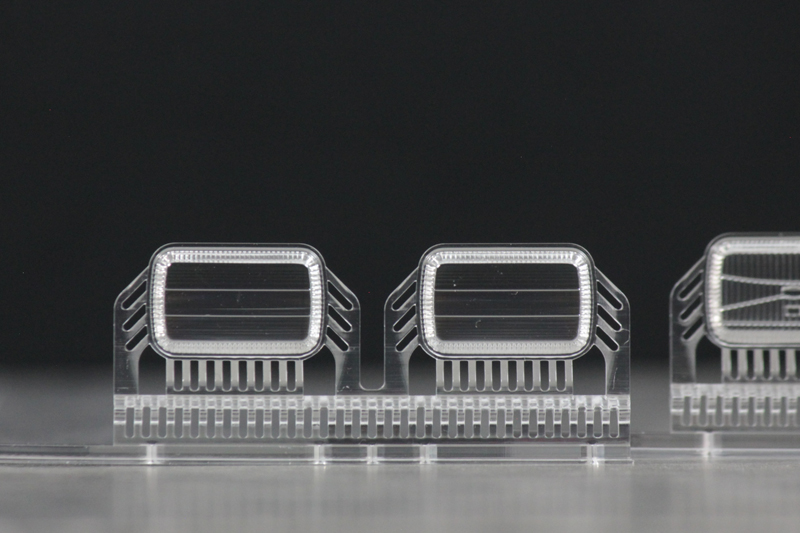
Key Points for Production
- The assembly process is as follows: remove support material → paint (optional) → attach to the body.
- If you’re concerned about scratches or other imperfections, please sand and paint the part before use.
- While the part is temporarily attached, open and close the light to ensure there is no interference, then permanently attach it to the body using a product like Shoe Goo.
- You can view the entire process, from removing the support material to final assembly, in our assembly tutorial video on YouTube.
[Important Notice]
- Additional items required: wire cutters, file, screwdriver, adhesive (such as Shoe Goo)
- Due to its universal design, minor adjustments may be necessary depending on the body being installed. Compatibility with bodies from other manufacturers has not been verified.
- The photos shown are examples of painted models and use parts and decals not included in the kit.
- Specifications are subject to change without notice to improve product quality.
Items to Enjoy Alongside This


By combining these items, you can recreate the “Break Ito” version of the Itai model.