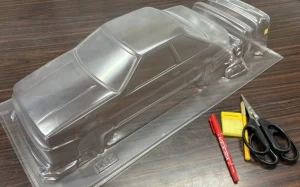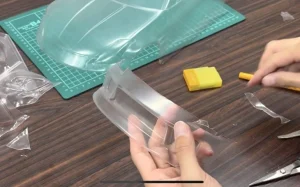
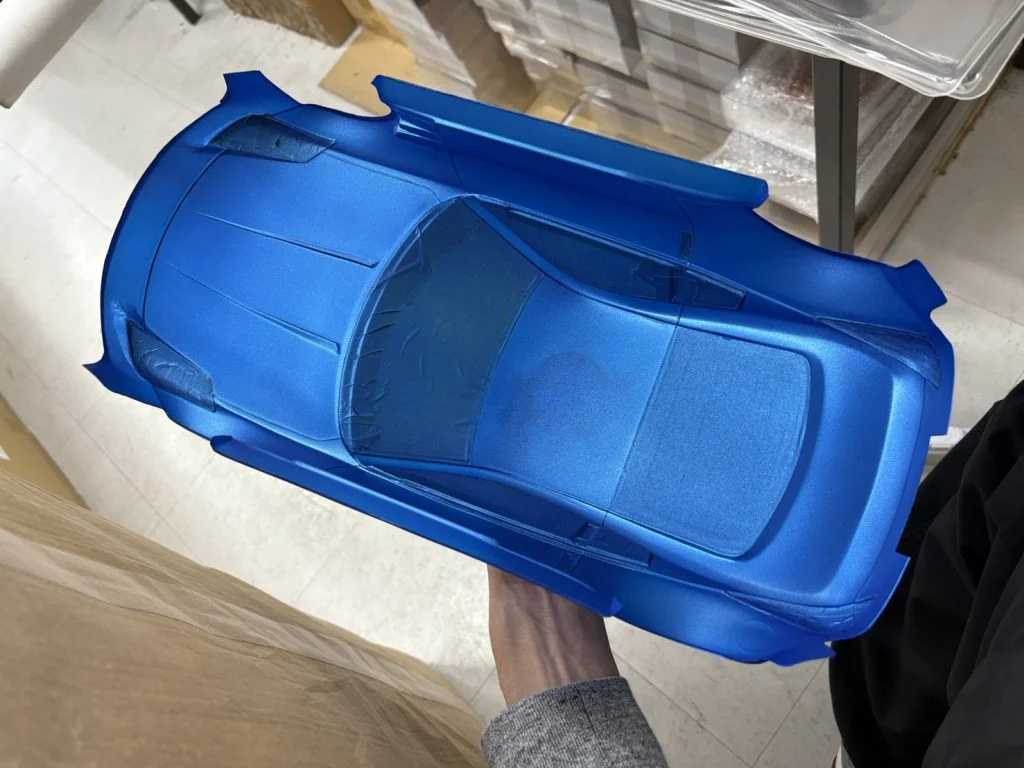
Finally, we’re moving on to the painting stage! After completing all the masking and panel line prep work up to this point, this time I’ll introduce the painting procedure for the Z33 body. I’ll carefully explain each step with photos, focusing on processes that even a beginner like me felt confident saying, “I can do this!”
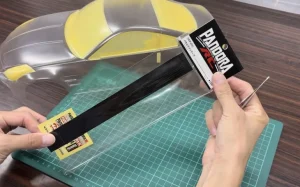
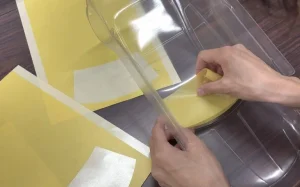
Preparation before painting
First, preparation is key before painting.
This time, I prepared a hair dryer and a kettle (for hot water).
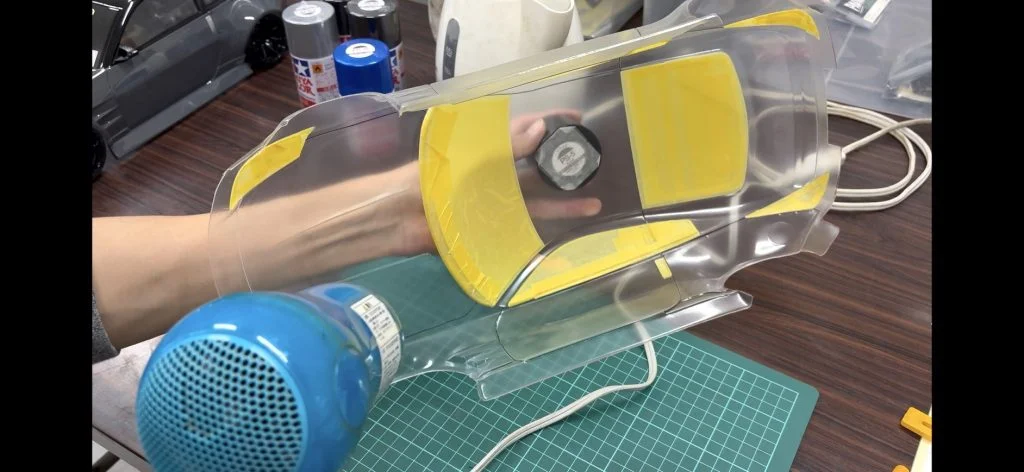
Before painting, use a hair dryer to improve the adhesion of masking tape to panel lines. Gently applying warm air helps the tape adhere firmly, preventing paint from seeping underneath.
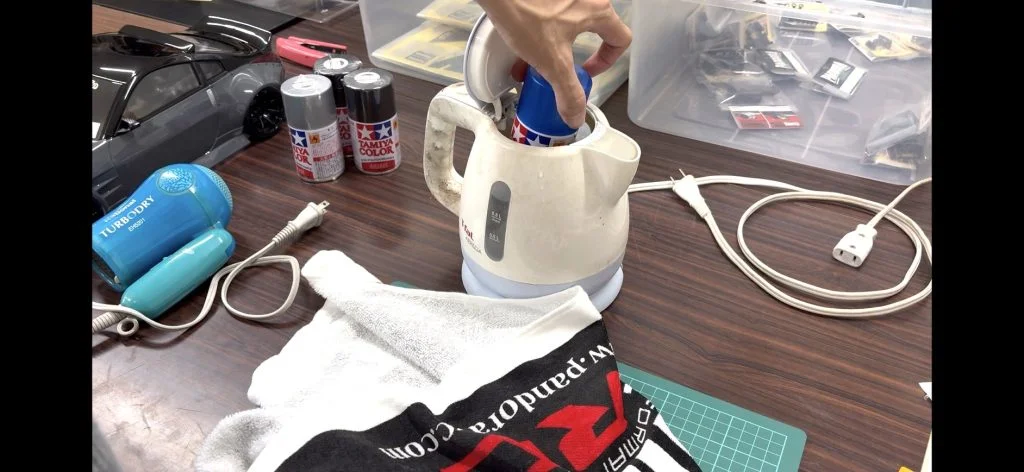
Additionally, warming the spray can in a kettle is key. The water temperature should be “just warm enough to touch.” This stabilizes the spray output and prevents uneven coverage.
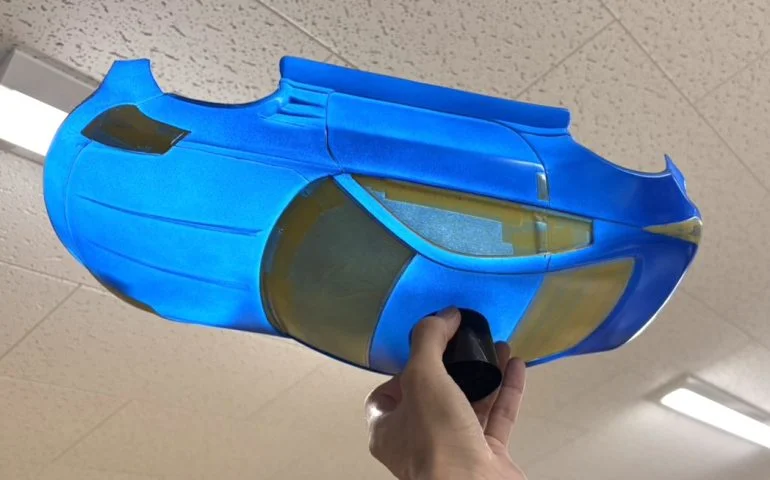
Applying the main color
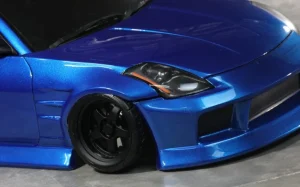
Finally starting the main color paint job! This time, the color is Tamiya (PS-16) Metallic Blue.
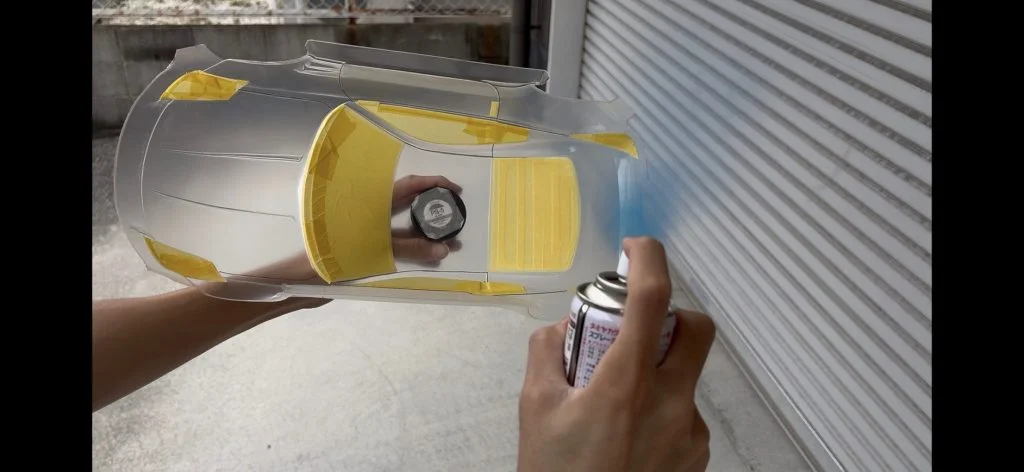
The key to painting polycarbonate bodies is to apply thin layers. If you spray too much at once, it will drip or become uneven, so imagine lightly “misting” it.
For the first coat of paint, it’s perfectly fine if it’s as translucent as the image above!!
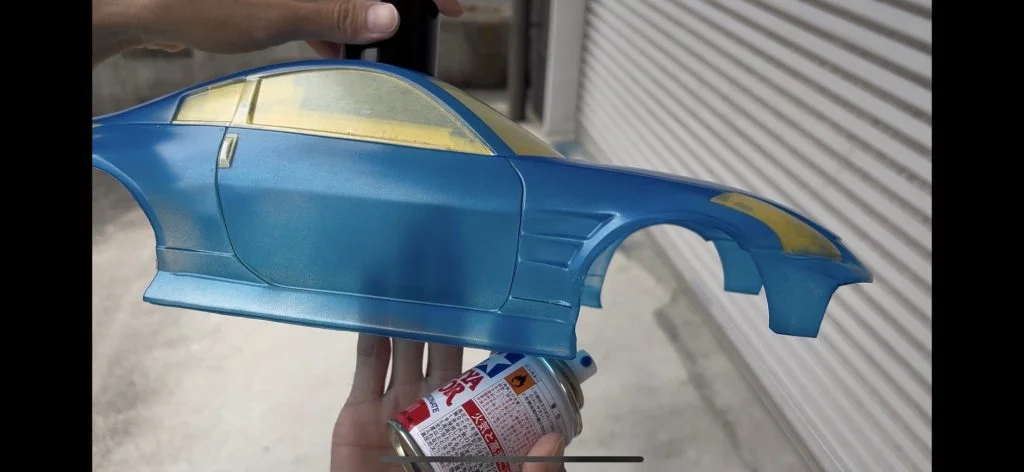
Apply one coat, dry it with a hair dryer, then apply another coat… repeat this process. After repeating this step 4 to 5 times, the color will deepen. It’s okay if it still looks slightly translucent. Since you’ll be applying a base coat afterward, it doesn’t need to be completely opaque.
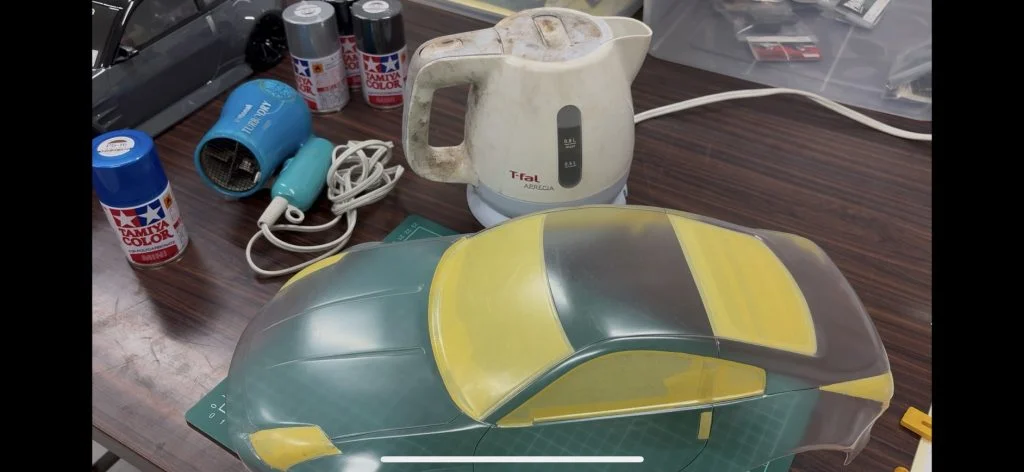
Silver-backed
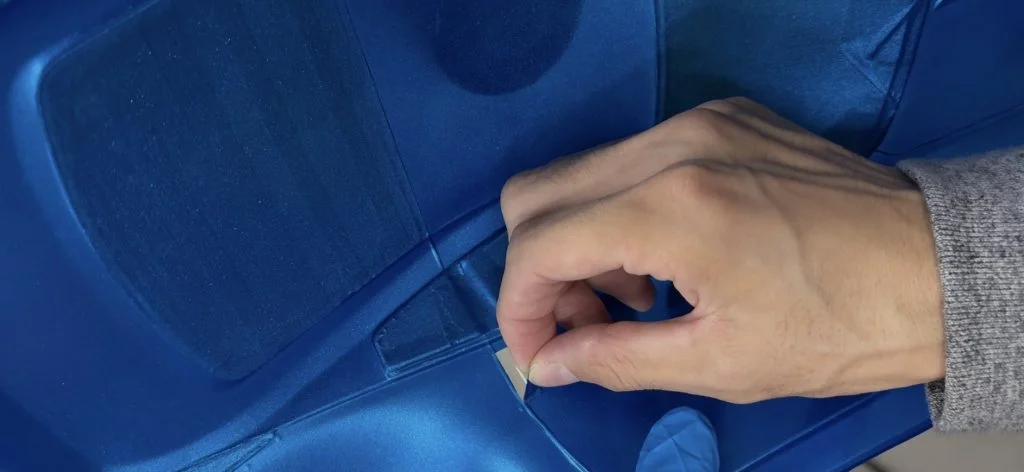
After applying the main color, the next step is the undercoating process. First, carefully peel off the masking tape from the areas you want to be silver (in this case, the door knob).
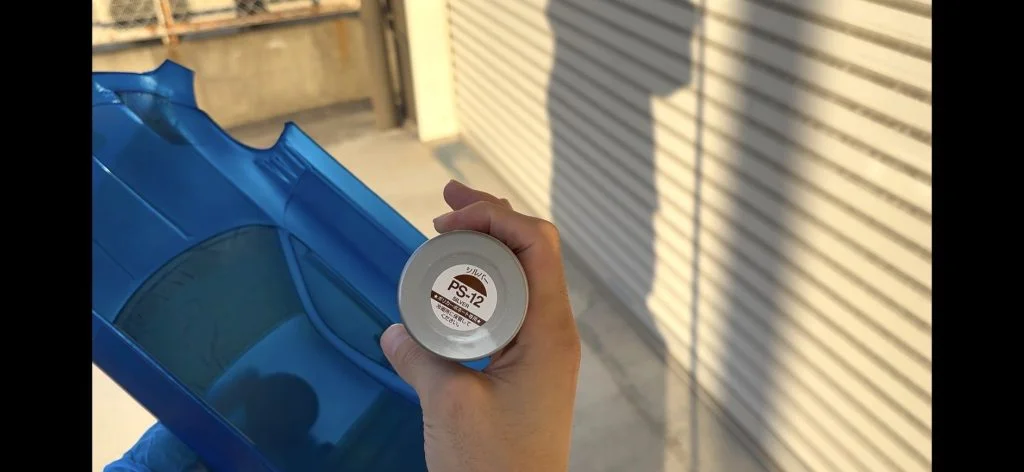
Use Tamiya spray paint (PS-12) Silver. Apply thin layers as before.
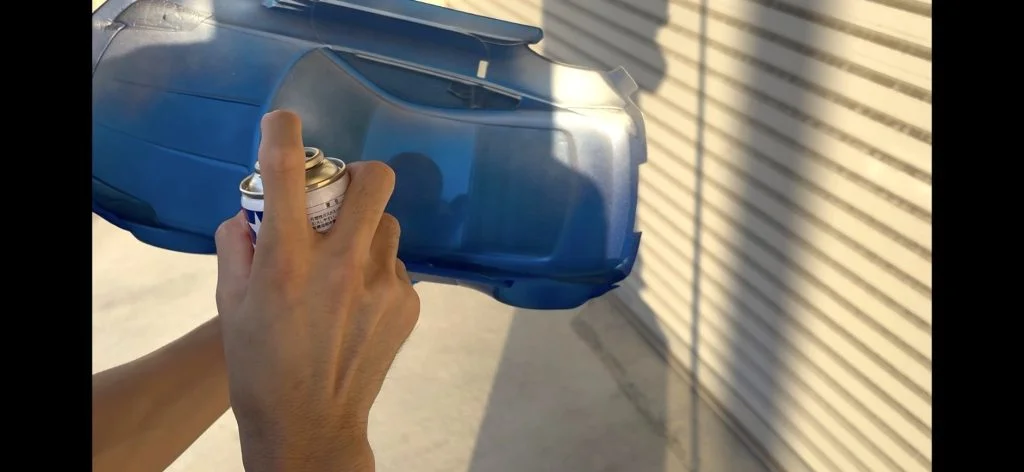
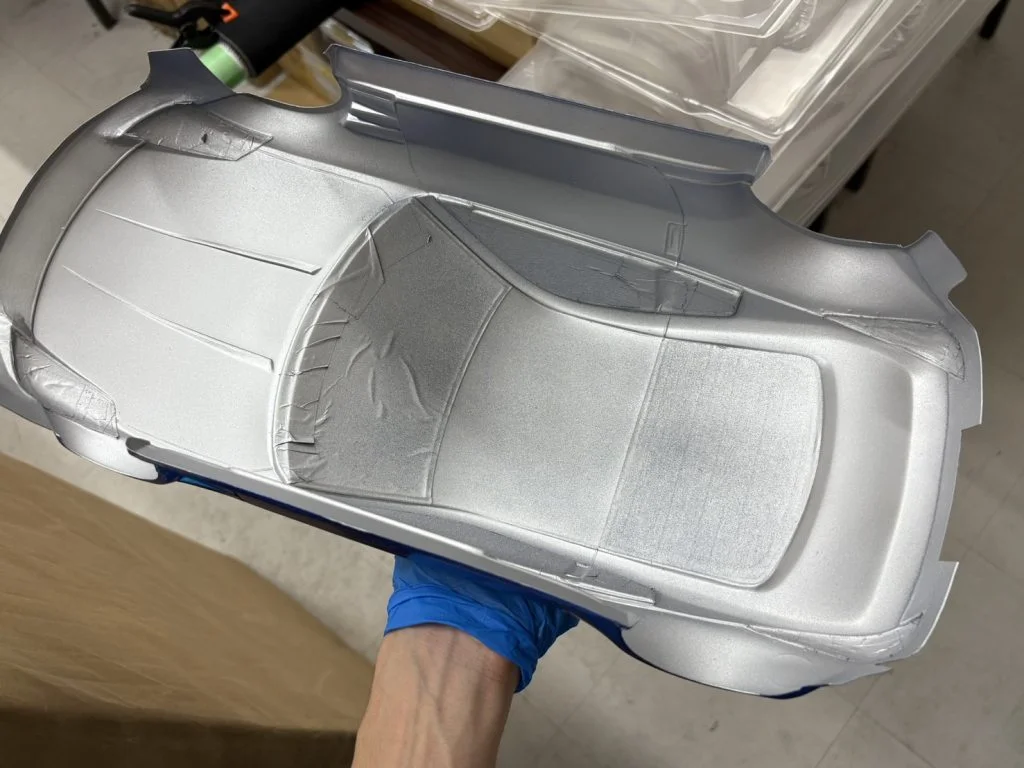
When using metallic colors, silver is recommended for the initial base coat. (I found this online, so I’ll give it a try!) The process is the same as for the main color: apply a thin coat → dry with a hair dryer → repeat layering. Apply 3-4 layers to achieve full color saturation.
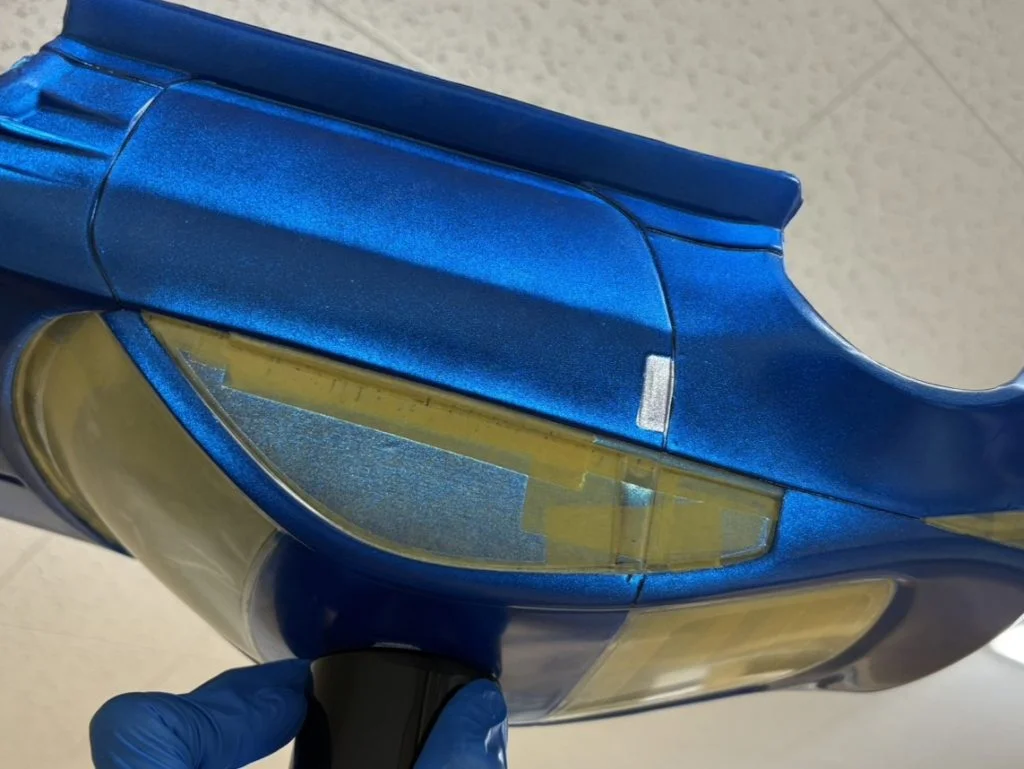
When you hold it up to the light like this, areas with poor paint coverage become noticeable, so focus on painting those spots!! (But avoid drips!!)
To be continued next time!!
As a finishing touch, we apply a black undercoat over the silver. This reduces light transmission through the body’s interior, resulting in a more saturated color. But first… remove the masking from the areas you want painted black (like the window moldings) and paint them! (We’ll cover this in the next installment.)