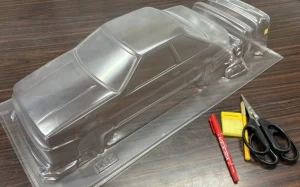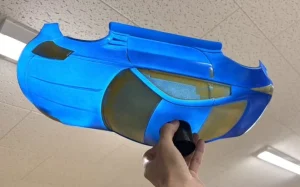
Finally, it’s time for the crucial step before painting: masking! After finishing the body cut on the Z33, I began preparing to achieve a clean paint finish. From a beginner’s perspective, I’ll share key points and precautions I learned through hands-on experience, complete with photos.
First, cleaning
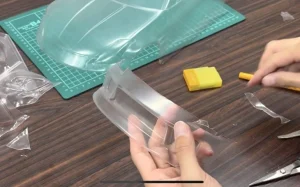
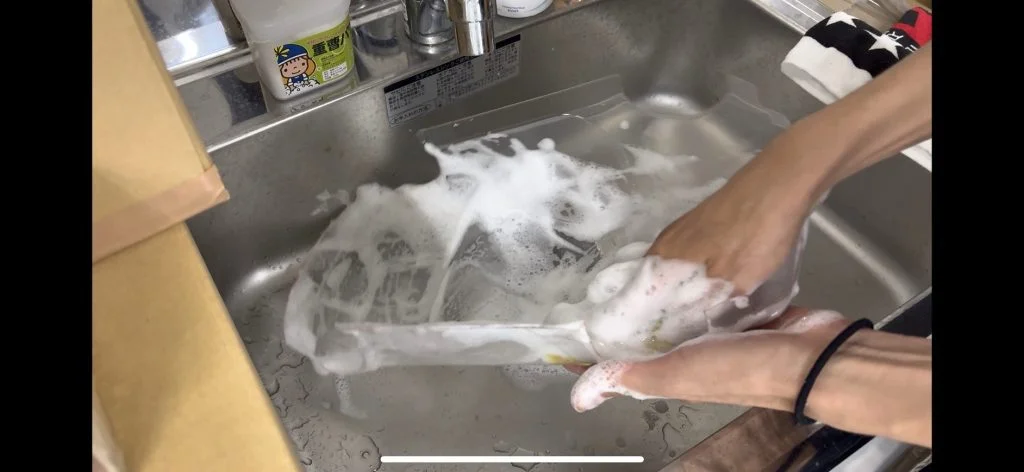
When painting a polycarbonate body, thorough cleaning is essential. Clean both the inside and outside of the body thoroughly to ensure the paint adheres properly. Use a neutral detergent and sponge to thoroughly remove any oil residue. The key is to lather up well and wash gently to avoid scratches.
Don’t forget to clean the outside too.
You thought, “The outside too!?” (I sure did lol). While working, you might accidentally touch the oil residue on the outside with your hands and transfer it to the inside during masking. That’s why it’s better to wash the outside too! (Oil really is the enemy of painting, huh~)
So… let’s be way more conscious about cleaning than you might think!
This is also important.
Not just the body, but make sure to thoroughly wash your hands with “neutral detergent” too!! I only learned this after finishing the masking work, but washing your hands frequently seems to be a key tip for successful painting. If you’re reading this article before starting your bodywork, keep this in mind!!
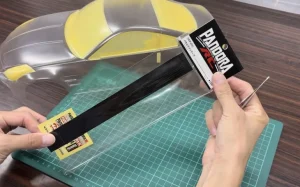
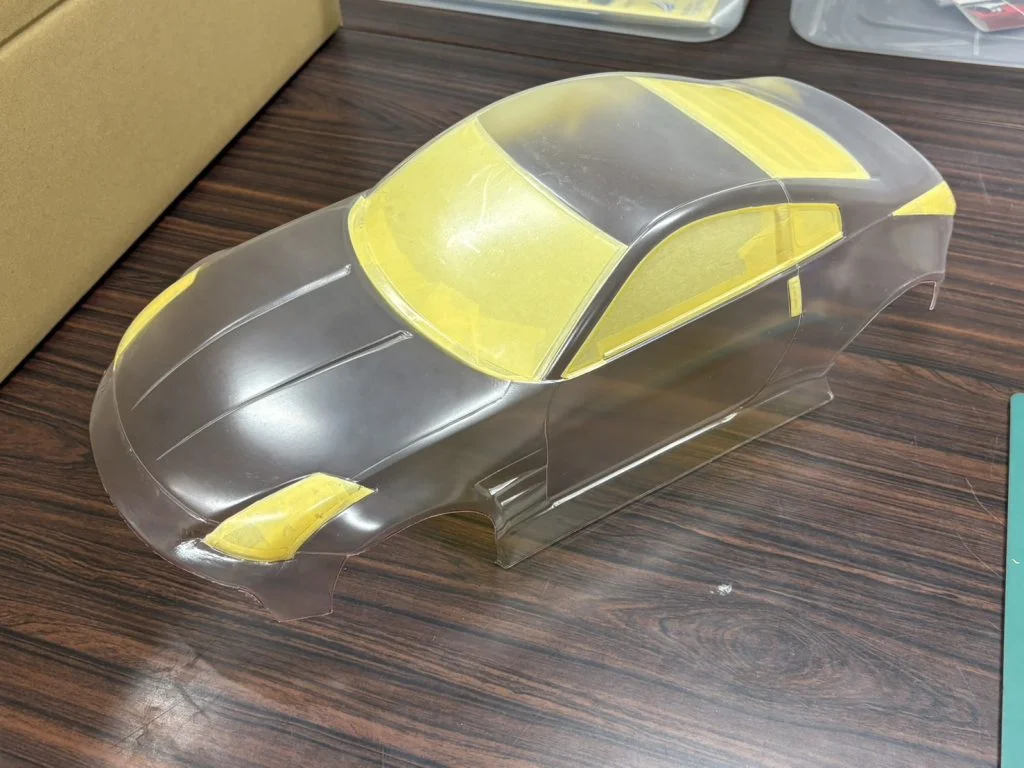
Masking Preparation
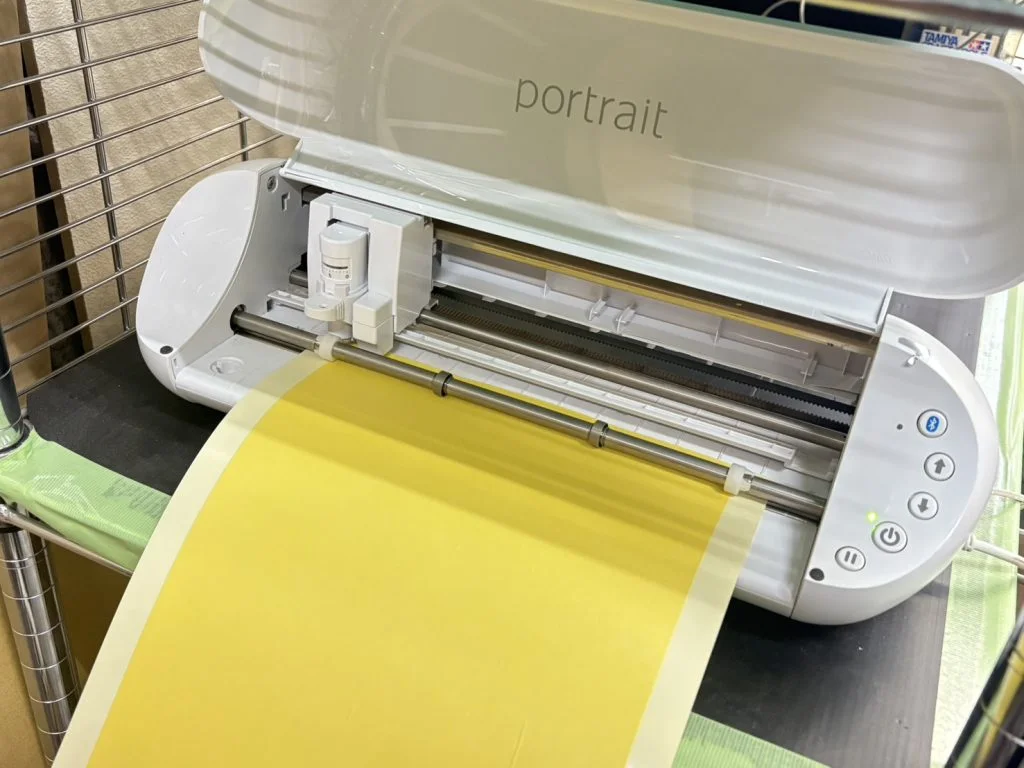
Masking is the process of protecting areas you don’t want painted. It’s crucial to confirm beforehand where to apply the tape—around headlights, windows, tail lights, and so on. This time, I tried making masking tape using a cutting plotter with a template.
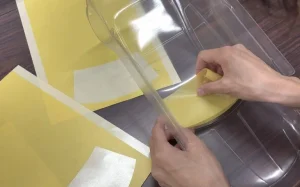
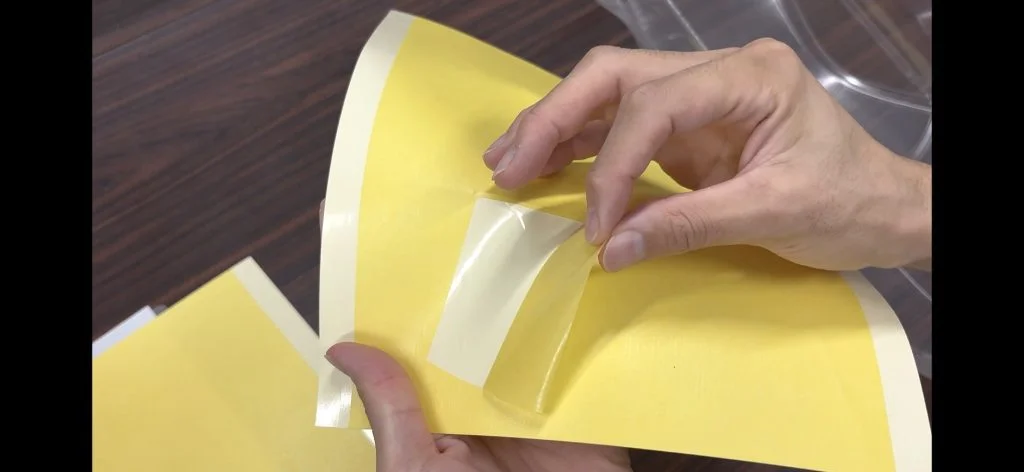
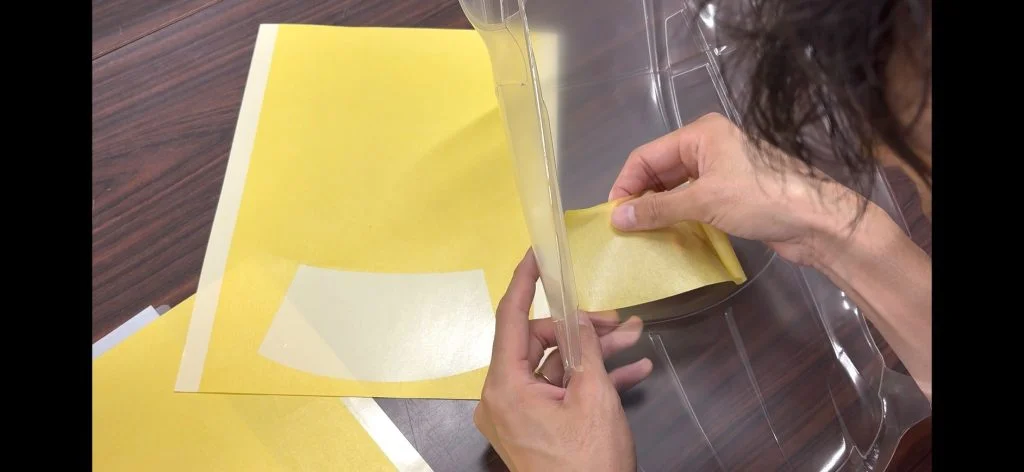
Moving on to masking around the windows
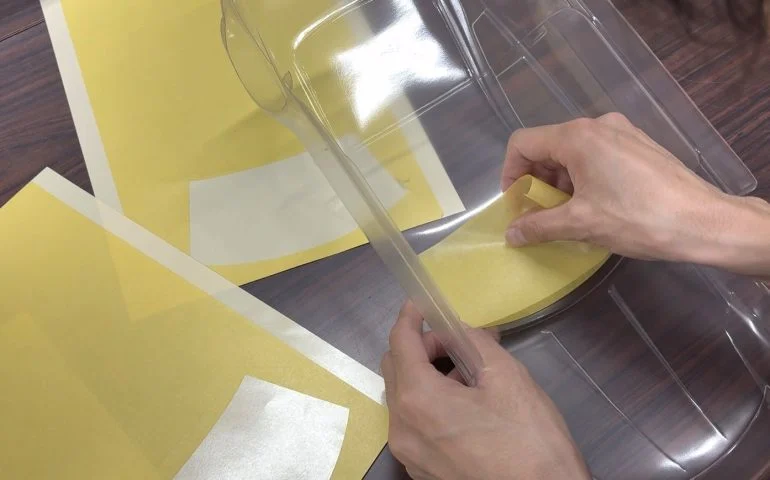
Using the masking tape prepared earlier, we’ll proceed with masking the window. I found it significantly easier with pre-cut masking tape.
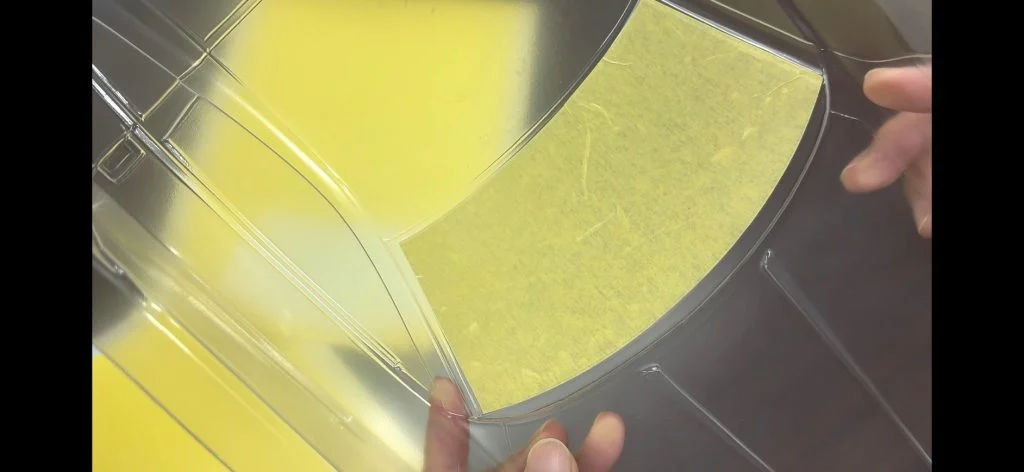
First, masking the window areas to be left transparent is complete. Small bubbles disappeared easily just by running my fingernail over them. That said, it’s not perfect, but as long as the outer edges are properly sealed, I don’t think paint will seep in. (Though I won’t know for sure until I actually paint it lol)
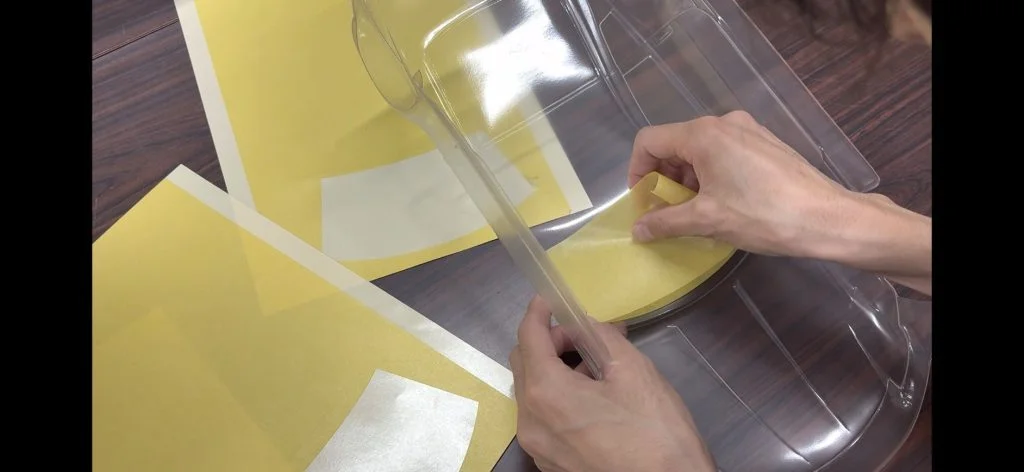
Earlier, we masked the windows. Next, we’ll mask the moldings (black). Here too, we’ll use pre-cut masking prepared with a cutting plotter. ↑ Simply peel off only the masking in the image and paint to blacken the moldings. (Leave the window masking in place.)
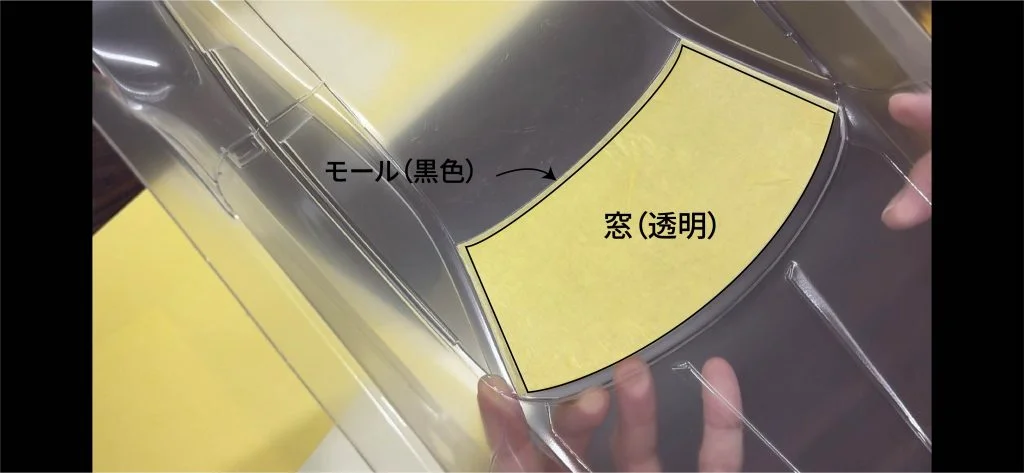
The window and molding masking is complete like this!! I’ll keep going with the other window panes at this pace!!
Door glass
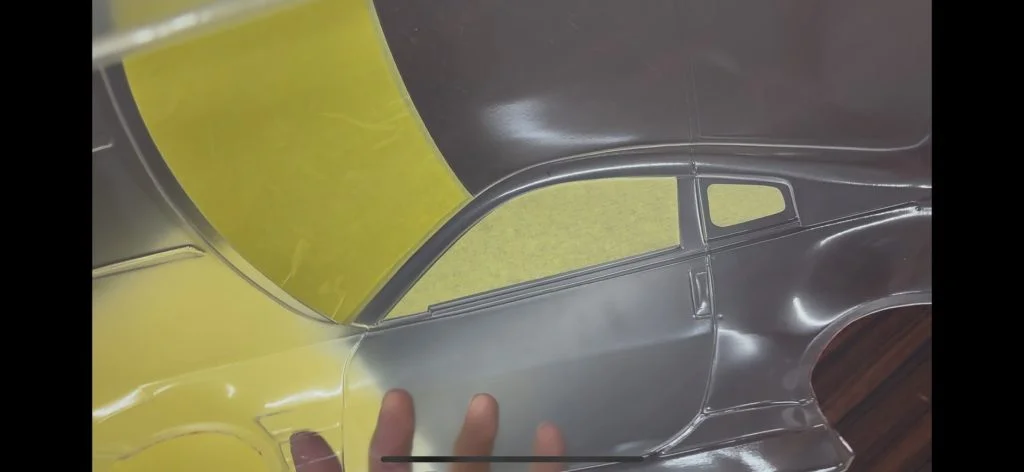
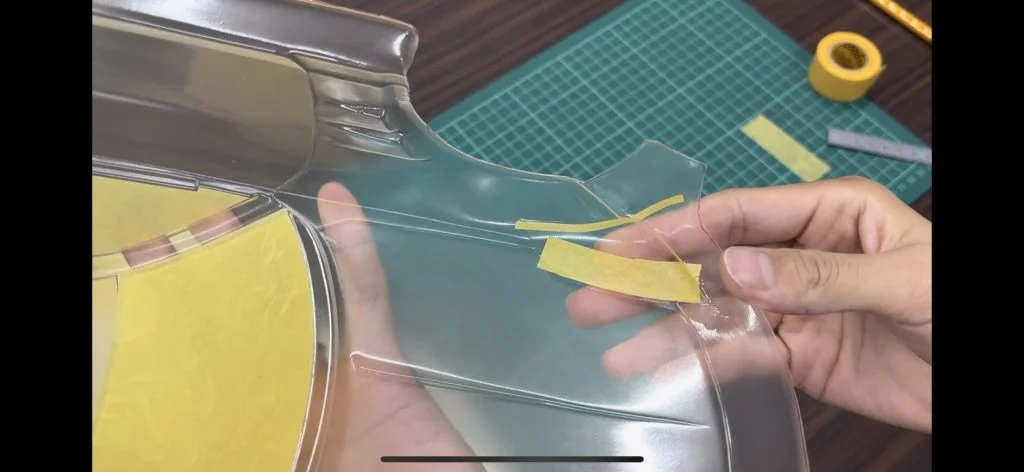
Just like the windshield, start by masking the transparent areas.
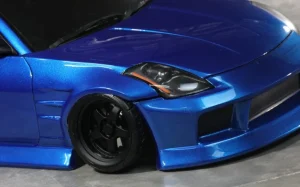
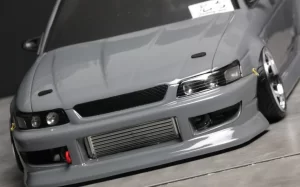
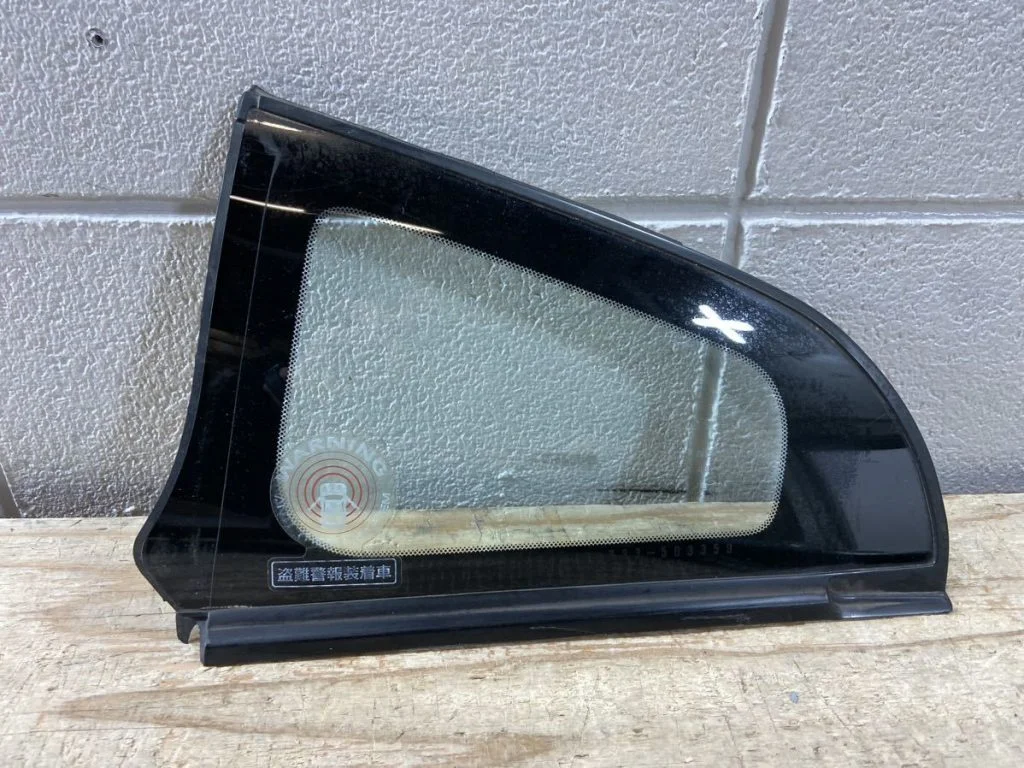
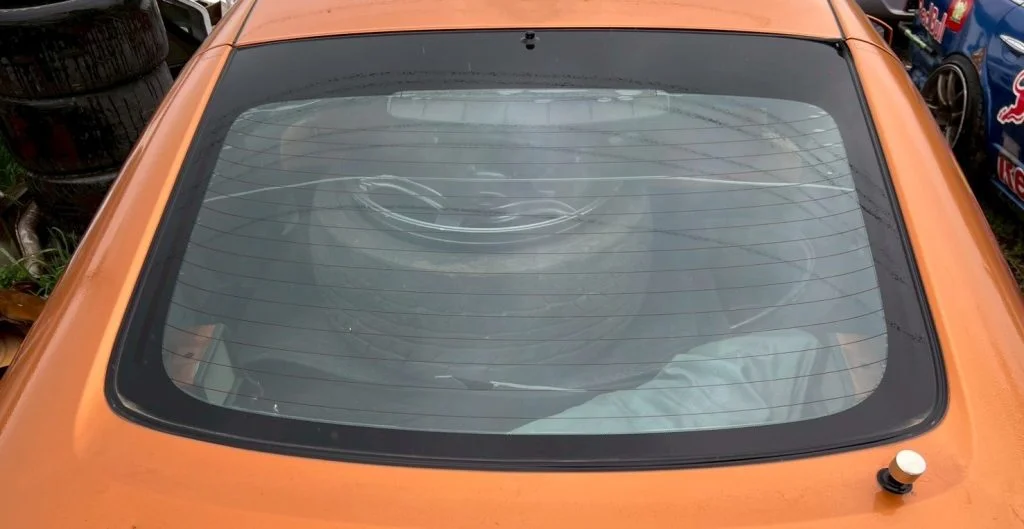
Looking at the actual car’s ↓ image, the rear quarter panel has “black ceramic,” so we’ll mask this area as well.
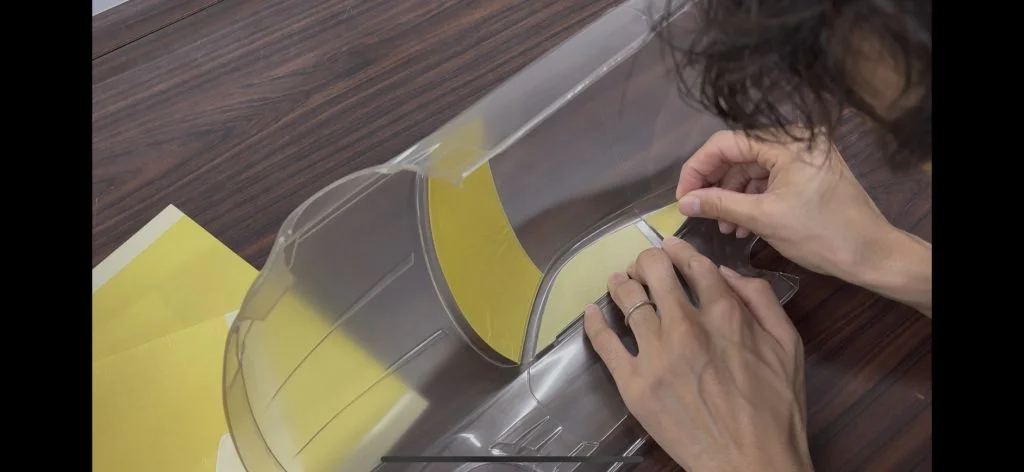
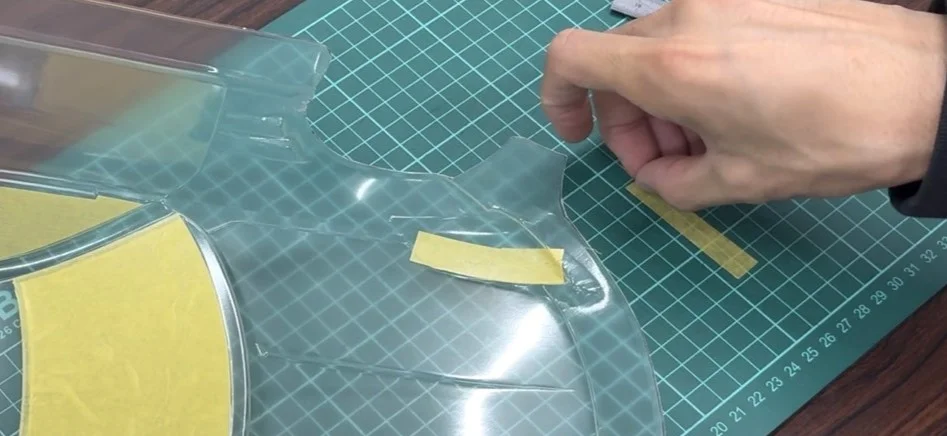
Door glass trim
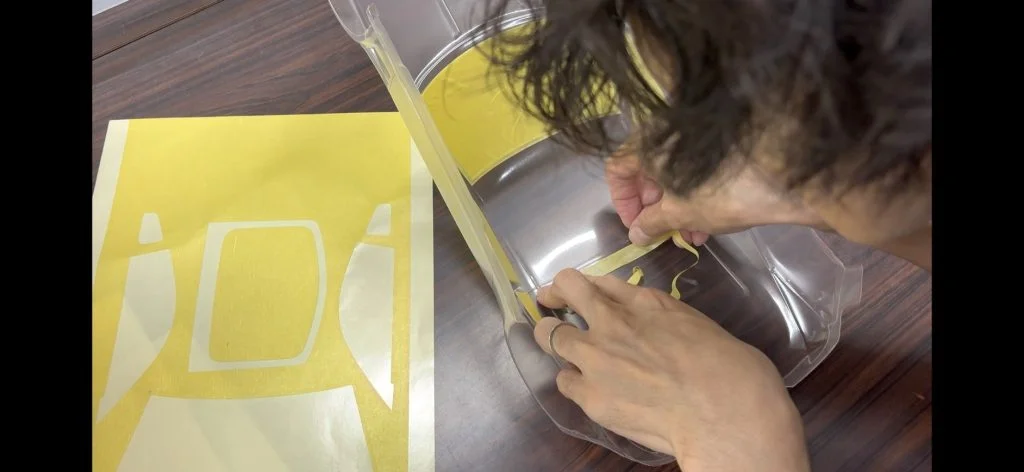
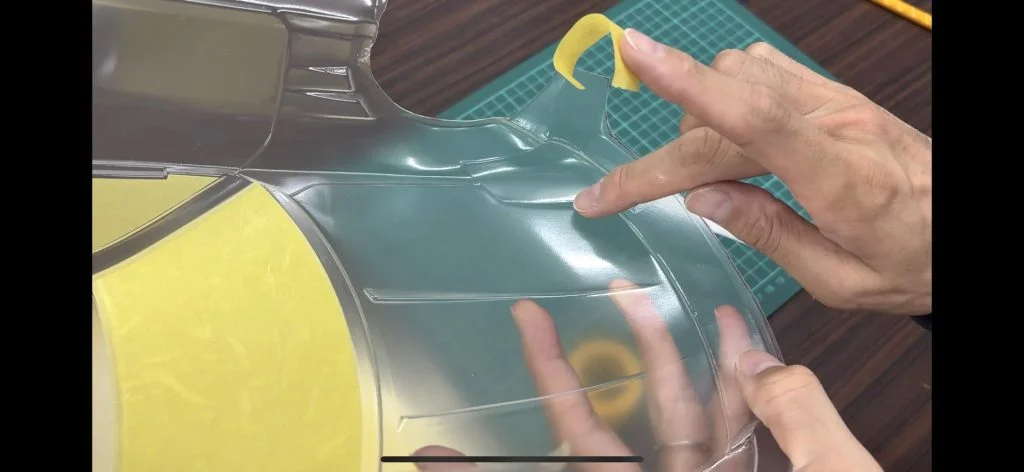
The shape of the Z33 door glass molding made it impossible to prepare pre-cut masking like for the windshield using a cutting plotter, so I proceeded with masking as follows.
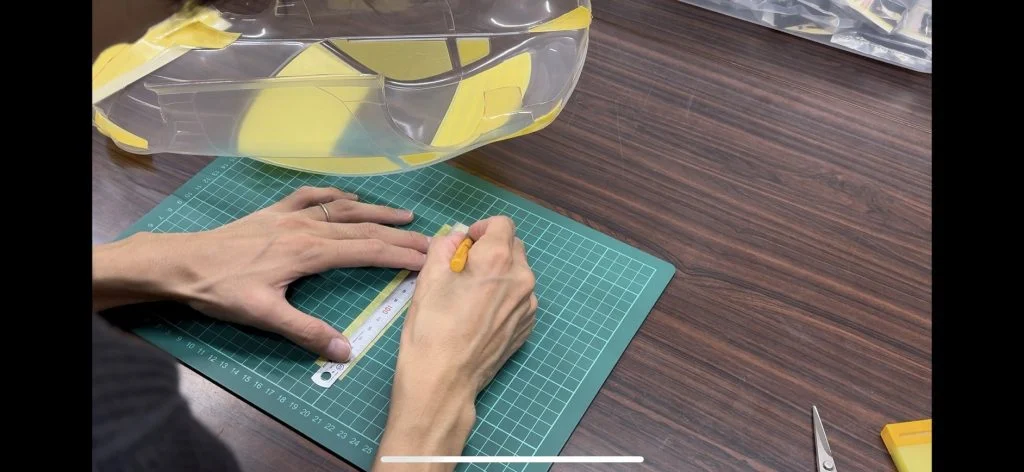
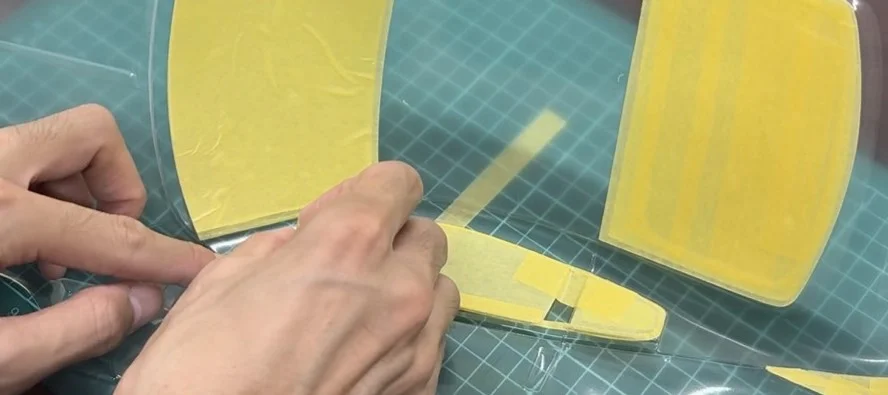
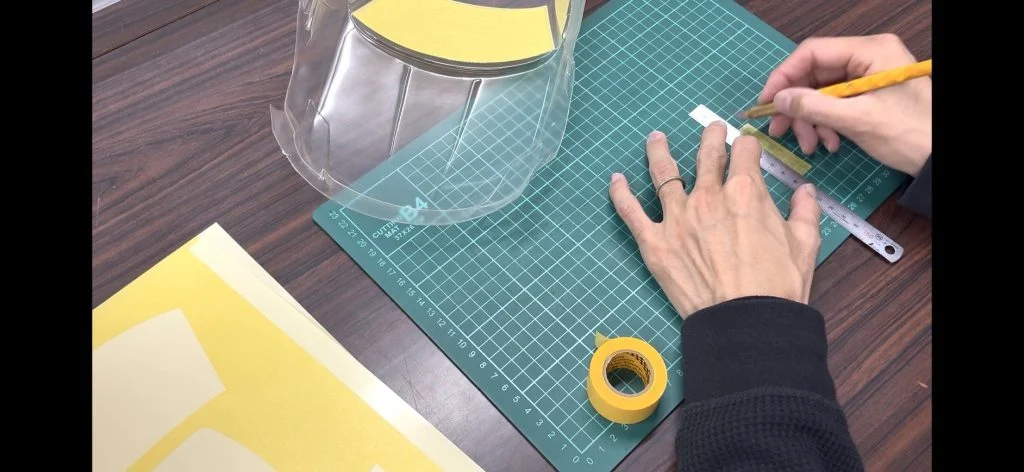
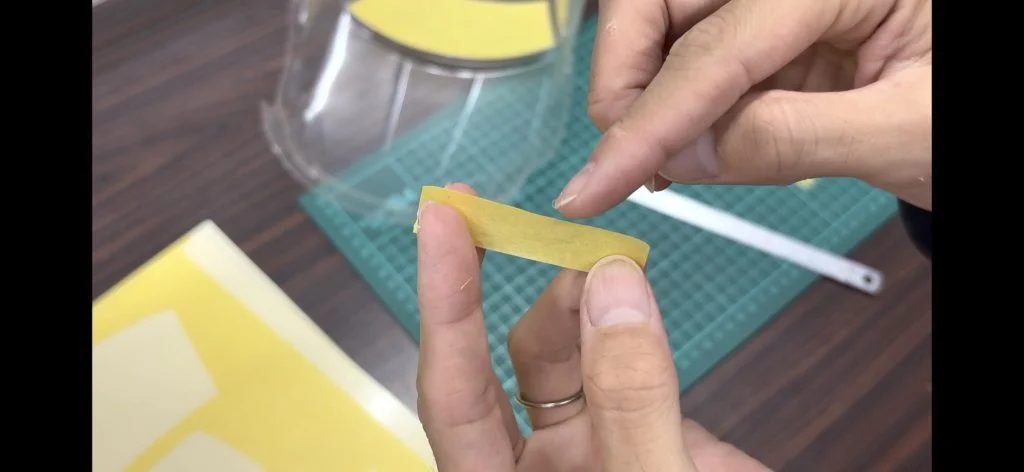
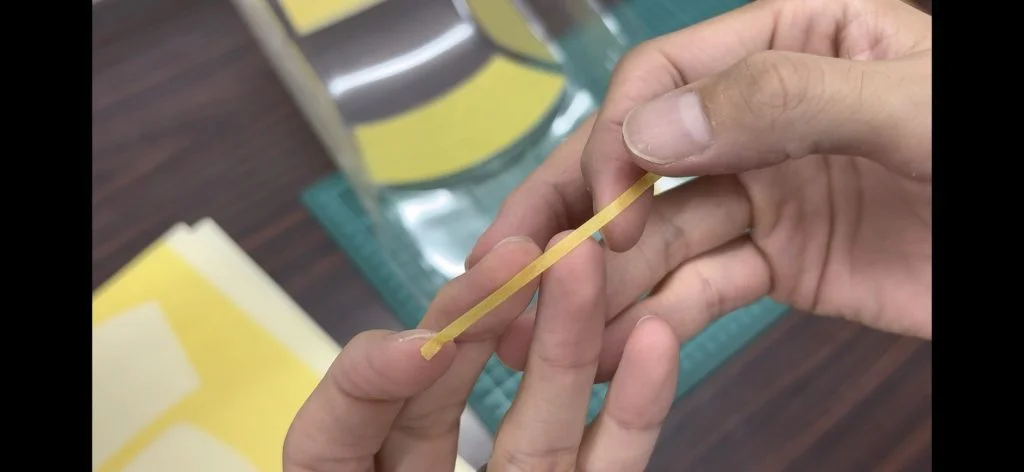
Attach masking tape to the cutting mat and cut it into thin strips to accommodate curves.
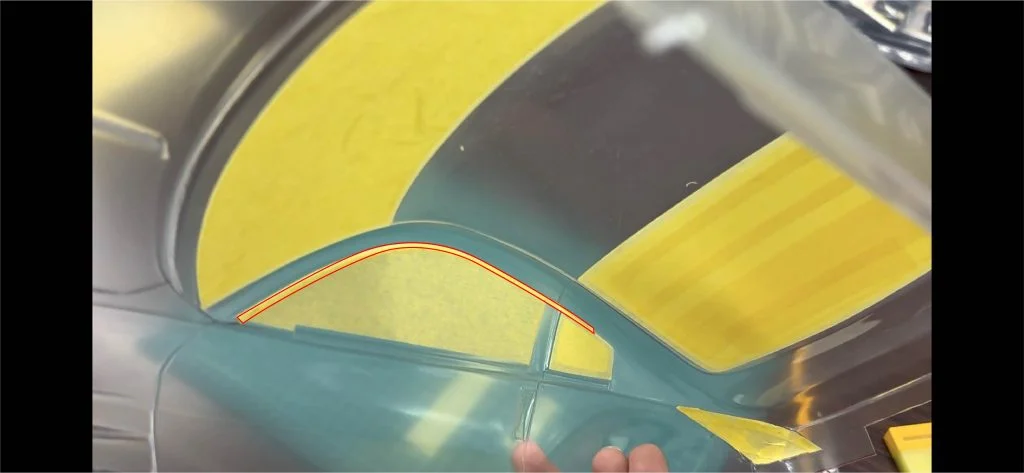
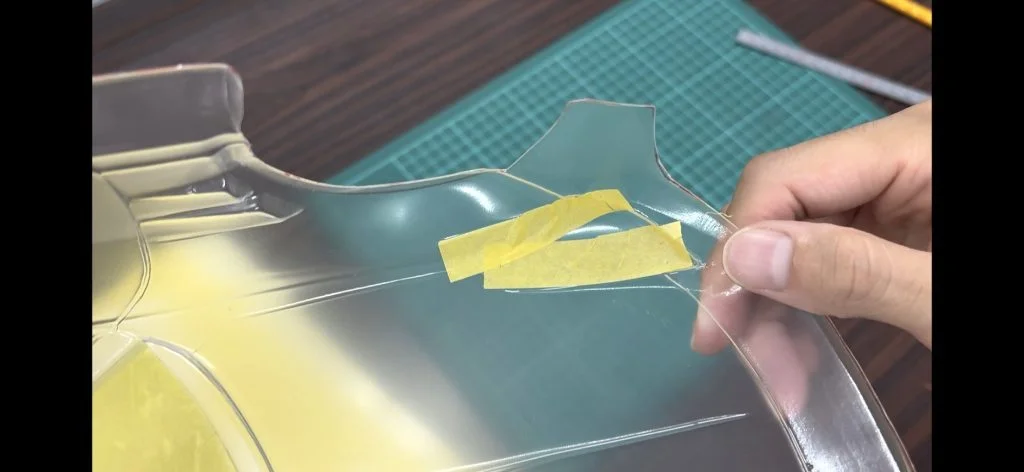
With lines as thin as the red ones in the image, the curves adhered beautifully. I’ll continue masking all the moldings in this manner.
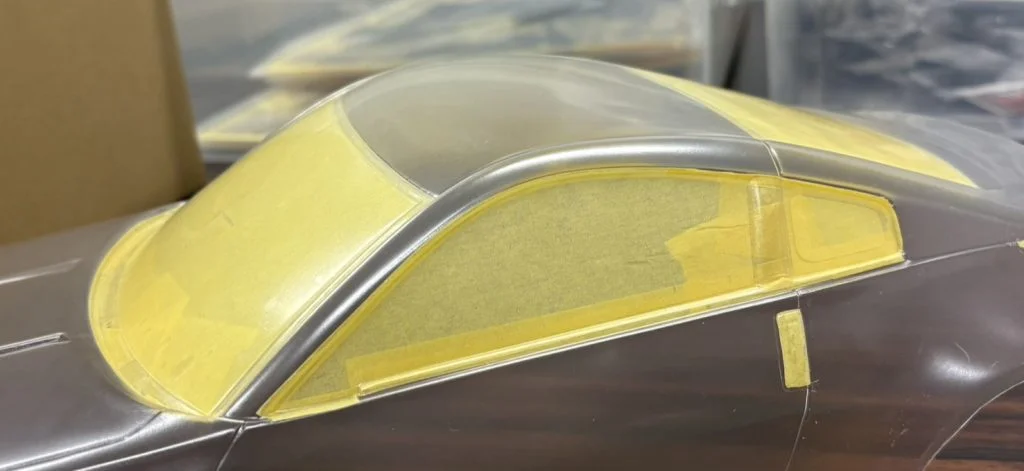
Rear window
The rear window also has a large area of black ceramic coating, as shown in the image below, so I want to make sure to capture that accurately. Heating wires would be nice too, but I think that’s for the advanced level, so I’ll skip it for now.

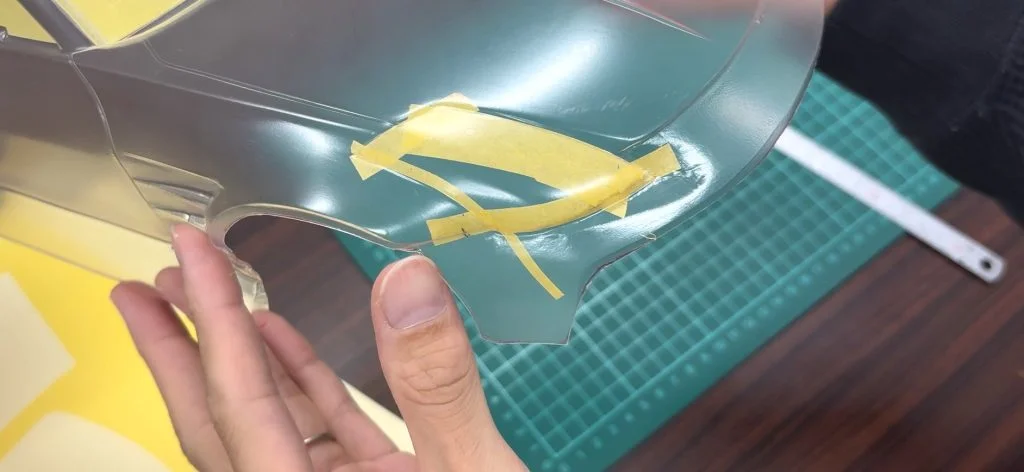
First, mask off the black ceramic part.
Cover the areas you want to make transparent with masking tape. (I realized later that since I’ll be peeling off the black ceramic part first, I might have messed up the taping order… I’ll keep that in mind for next time.)
Finally, masking including the molding section completes the rear window masking.
Headlights & Tail Lights
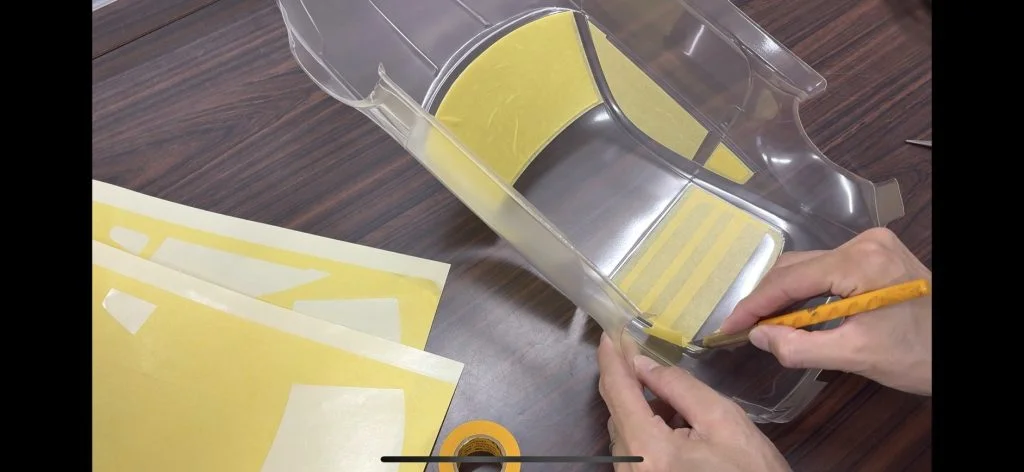
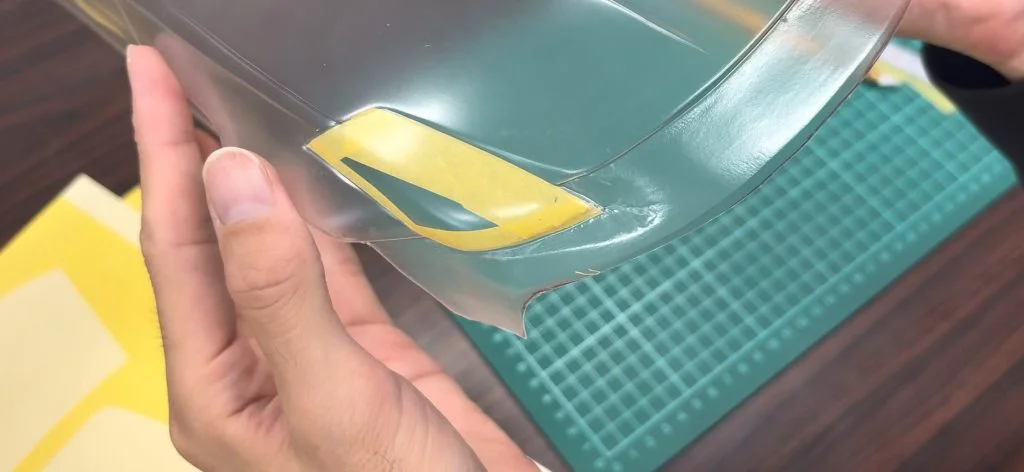
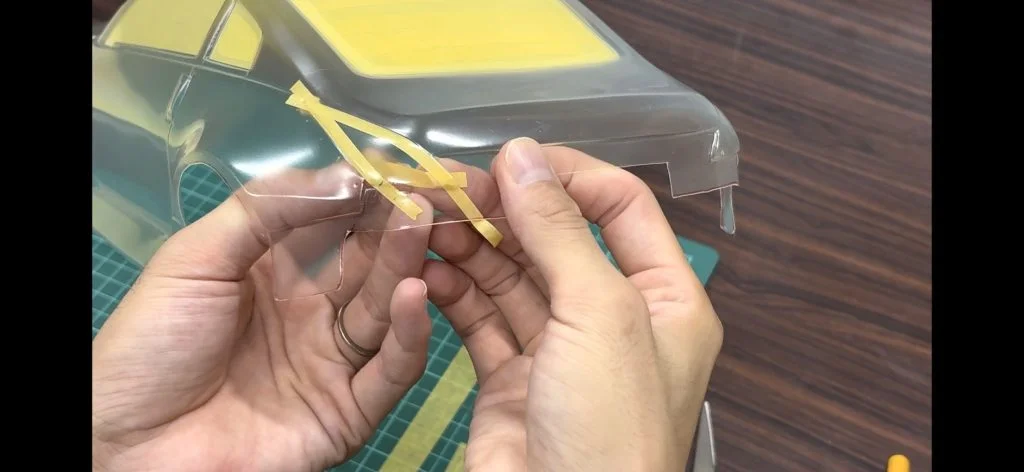
Around the headlights, there are more curved surfaces compared to the window glass, so we’ll use masking tape cut somewhat narrower, similar to how we did it on the door glass.
Use the straight edge cut with the design knife to fill in the outer perimeter of the light.
Apply it along the curve like this.
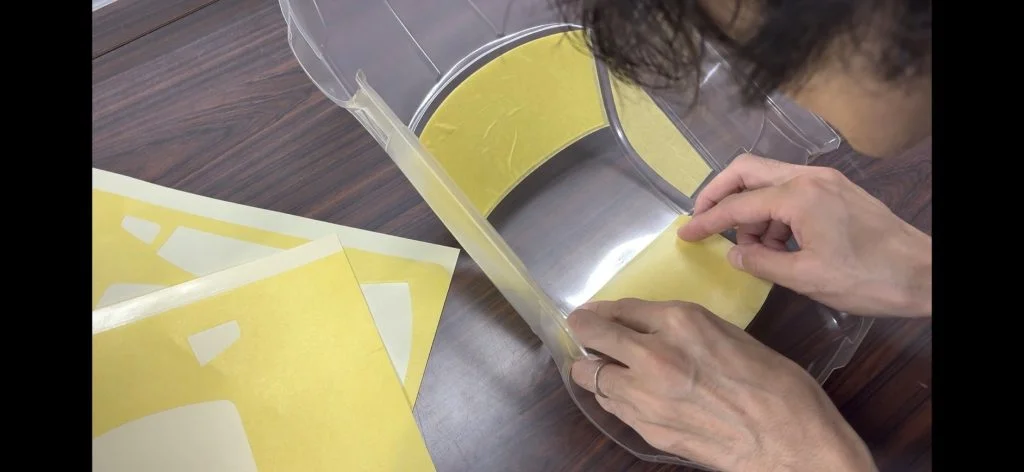
When I tried to apply the tape to the curve in the image, it didn’t stick properly, probably because the tape was too thick. If I paint over it like this, the paint will definitely seep underneath.
So, I’ll cut the tape this thin and stick it along the curve! Now, let’s see if I can do it right.
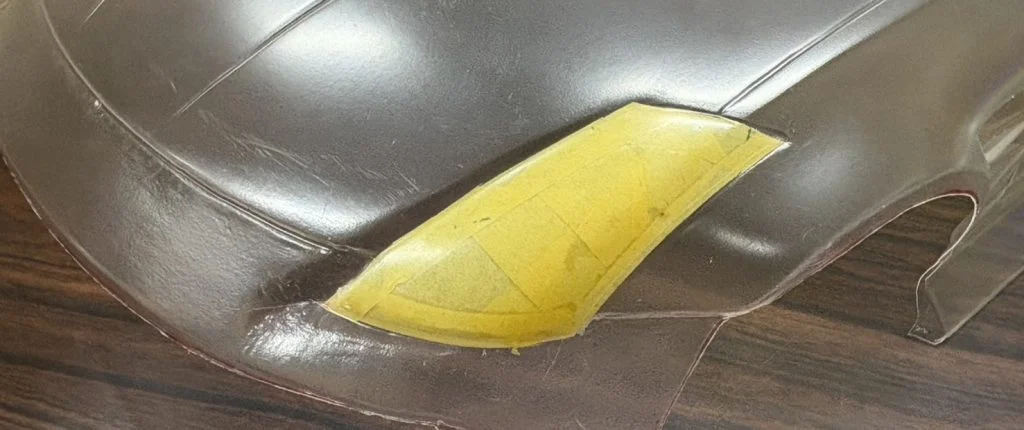
Stuck it on!! Keep going around the perimeter like this, then fill in the middle~ (Adjust the thickness depending on the curve, right?)
After cutting off the unnecessary parts, all that’s left is to fill in the inside.
Do the same for the tail.
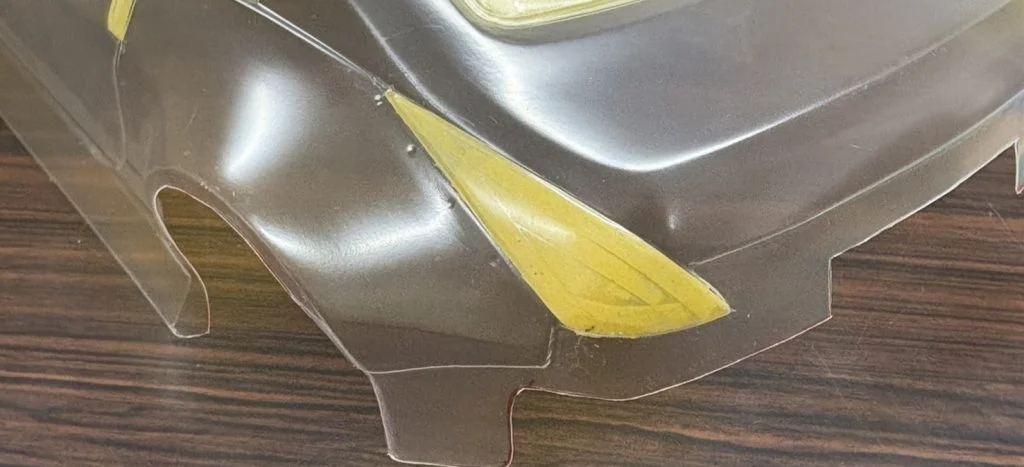
Light masking complete
Next time: Panel Lines
Next time, I’d like to move on to the painting stage, but first, I’ll be applying panel lines like the hood line and door line!! You could apply them from the front, but I’m going to try tackling them from the back!!
This article is part of the “#Pandora RC Club Activity Log” series.
If you’re thinking about starting bodywork, let’s take on this challenge together!