PANDORA RC staff embark on a series tackling RC body fabrication “as beginners.” For this commemorative first installment, they take on cutting the body for the “Z33 DRIFT LINE,” scheduled for release in November! We’ll deliver the workflow and insights in a way that’s easy for beginners to follow.
Start by understanding the cut line
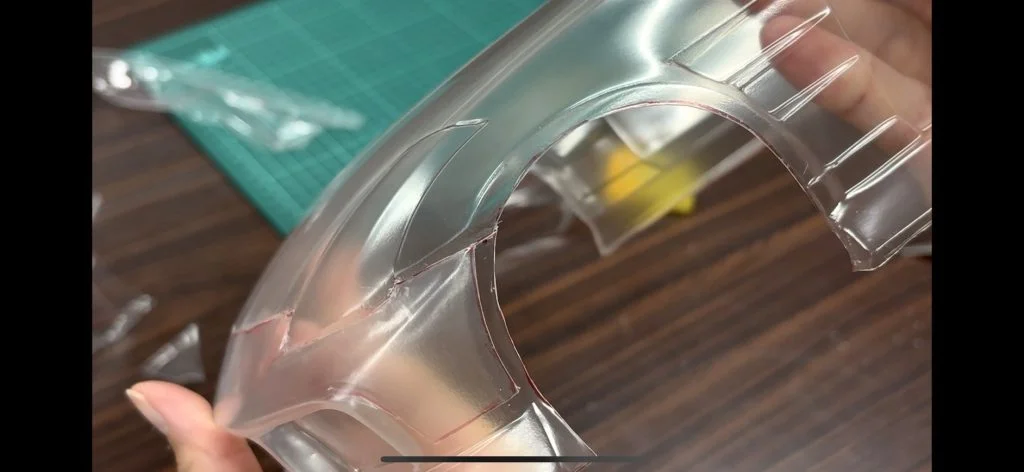
The first hurdle is determining the cut lines.
When actually holding the body in my hands, there were spots where I hesitated: “How far should I cut?” or “Should I leave this part?”
Tracing the cut lines with a pen makes the subsequent steps go much smoother.
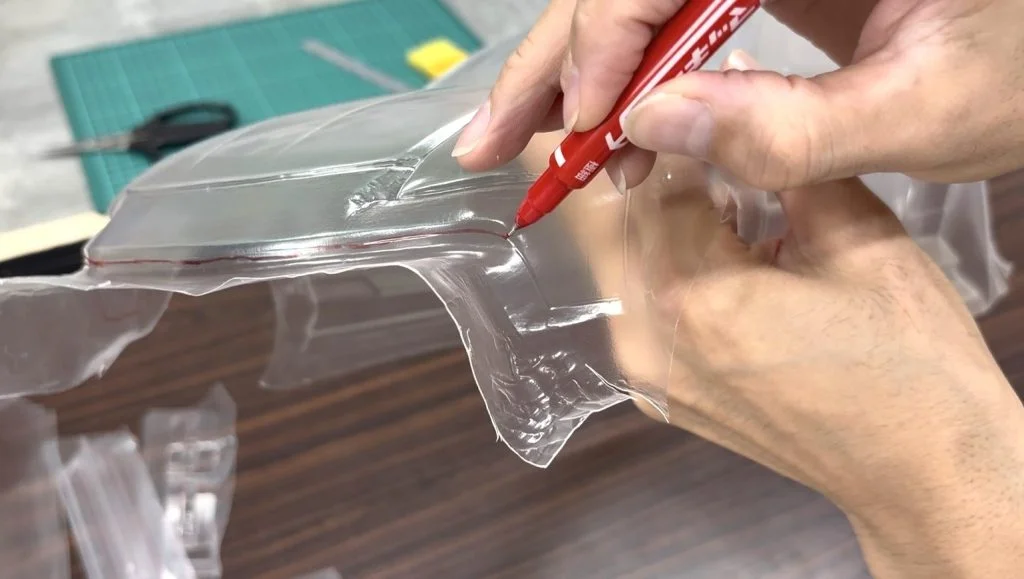
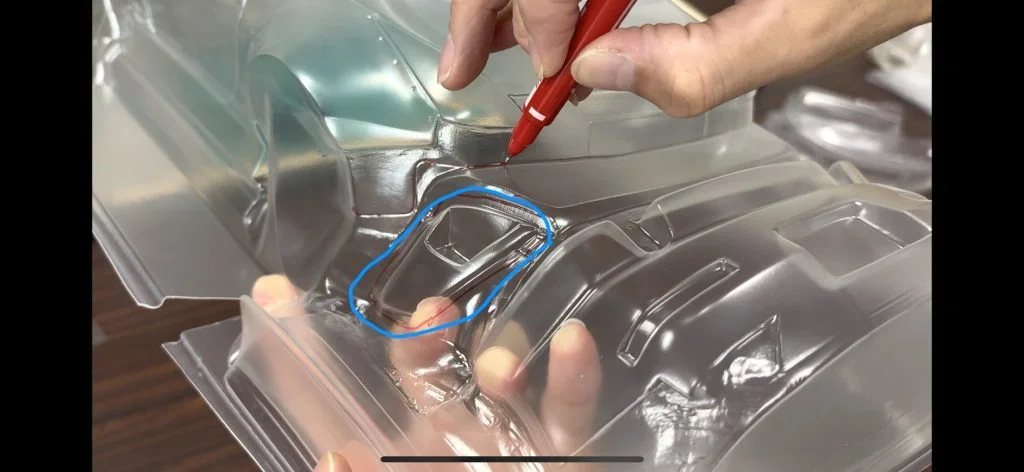
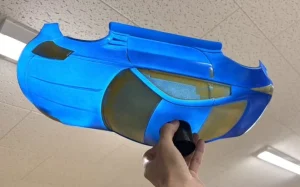
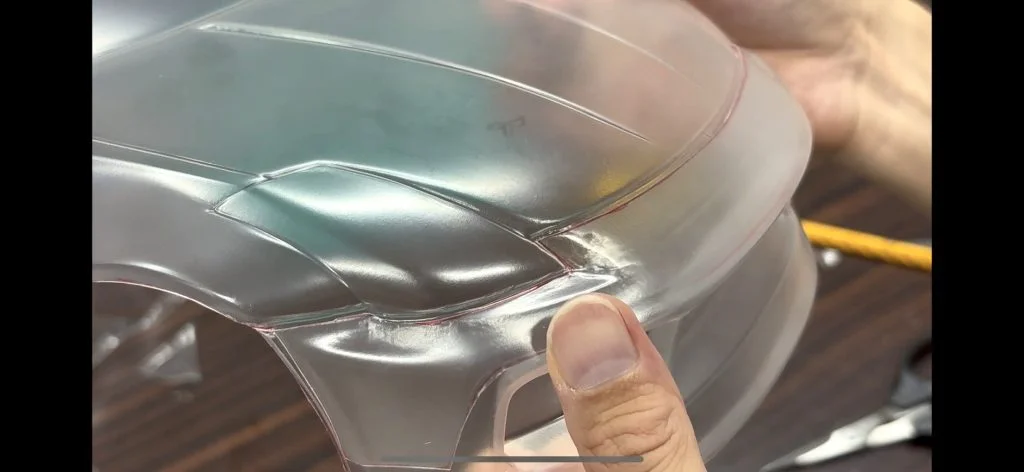
For this Z33 DRIFT LINE (ORIGIN Labo.) , I had to be careful not to accidentally cut the Combat Eye (blue circle in the image above) since it’s close to the main body. Based on my experience, I think the other parts are less prone to mistakes.
Finally, the cut! A beginner’s ingenuity
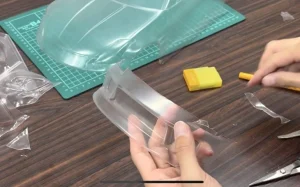
For cutting, use straight scissors, curved scissors, and a craft knife. Rather than cutting directly along the cutting line, start by making rough cuts to make each part easier to cut.
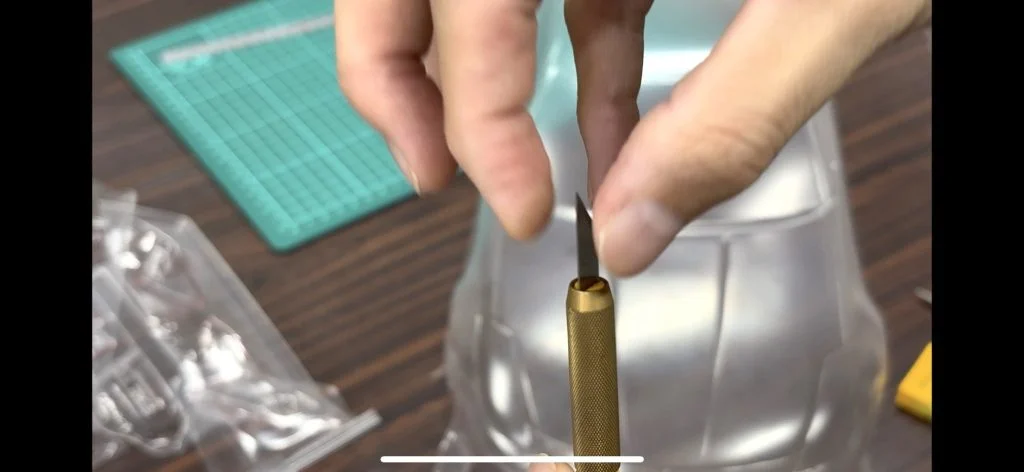
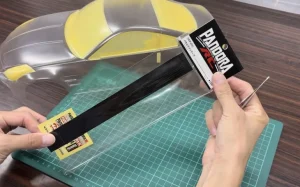
First, always use a fresh blade on your design knife to avoid applying unnecessary force. Using a dull blade risks cutting into important areas, so be sure to replace it with a new one!

After rough cutting, it’s finally time to cut along the cut line. Now to tackle the wheel arch—the part I thought would be tricky… (Well, I wonder if I can pull this off)
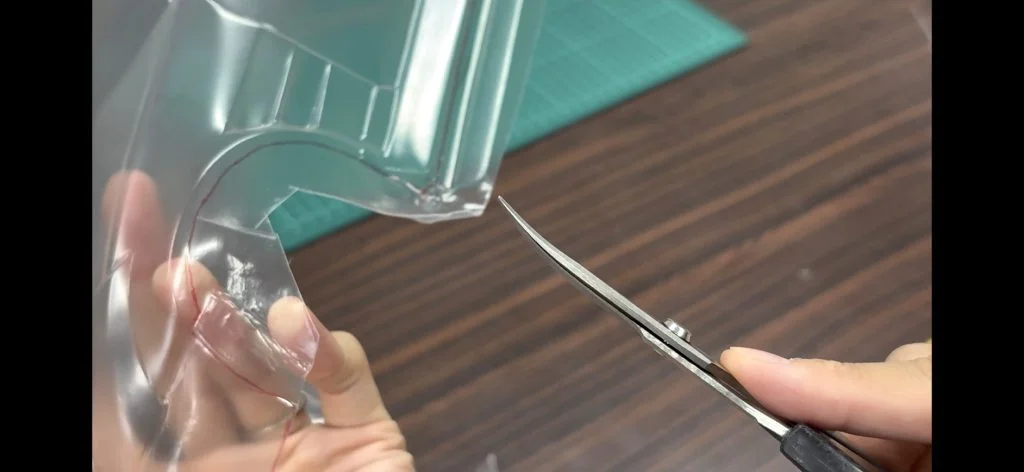
Using curved scissors designed for cutting curves, I carefully cut along the lines.
Did I cut in the wrong direction? If I keep going like this, I’ll end up cutting into the body.

When I cut with the side I wanted to keep (the body side) facing right ↑, it was significantly easier to cut.
Well, it cut like this! (I’m satisfied for now)
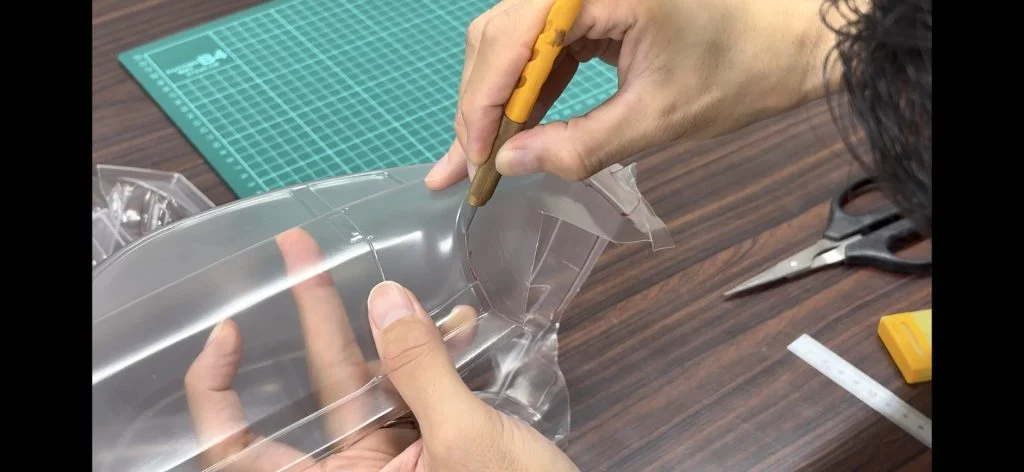
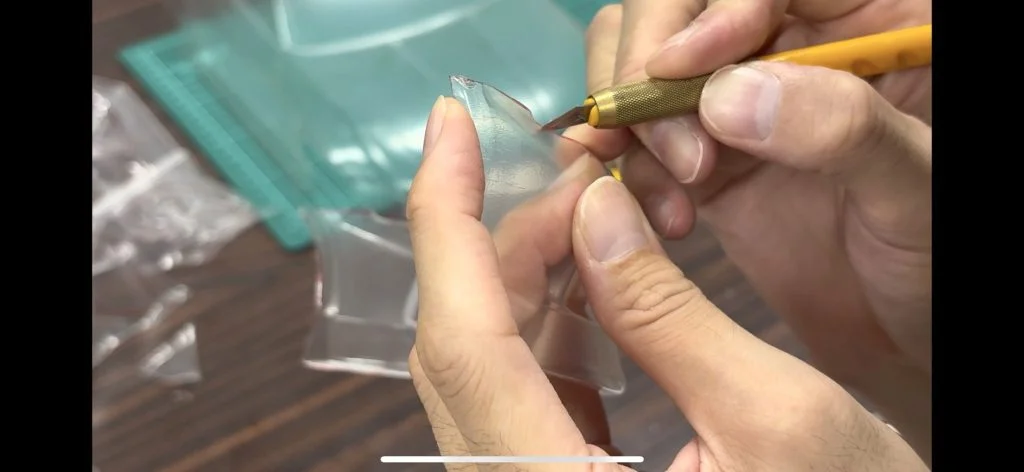
I heard many people use a design knife to shape the wheel arches, so I decided to give it a try! I thought it would be difficult, but I focused on taking it slow and steady. This is where having a fresh blade on the design knife really pays off! Feel the tip gently bite into the polycarbonate body as you make steady progress.
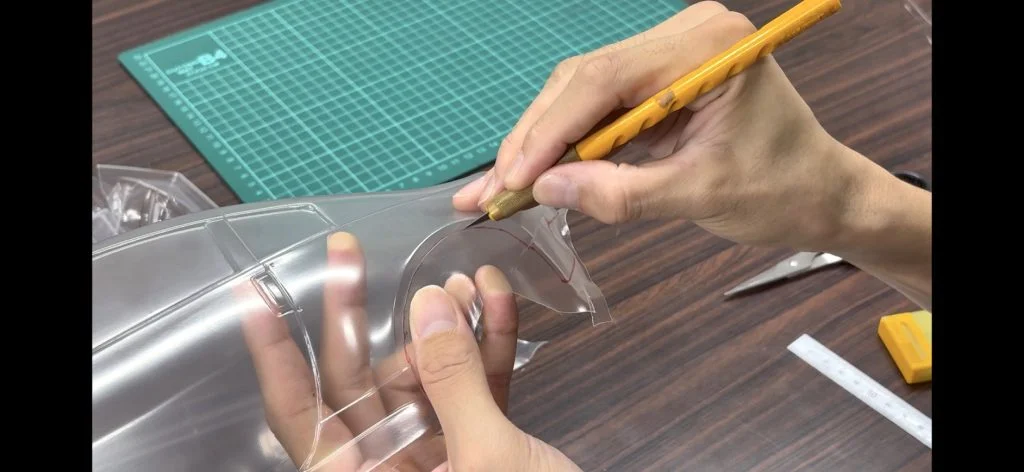
I think it’s better to suppress the urge to cut it all off at once and proceed slowly and carefully to avoid regret.
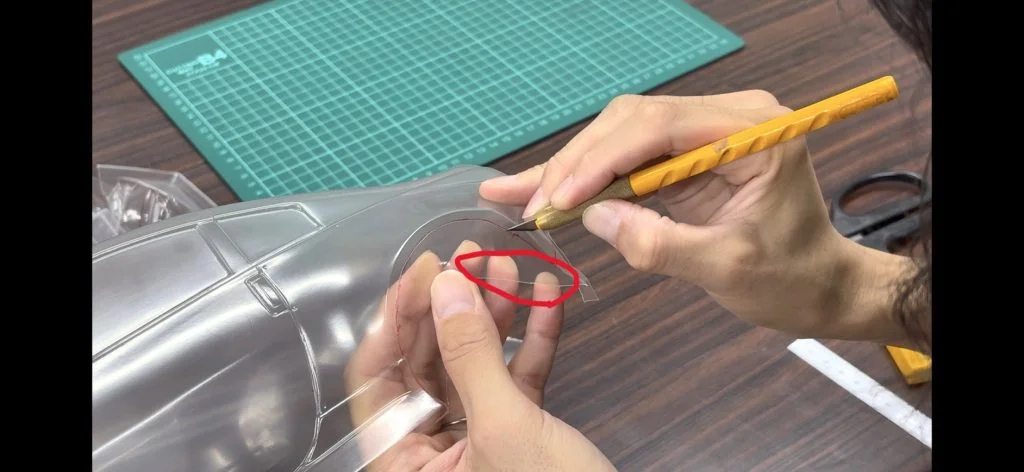
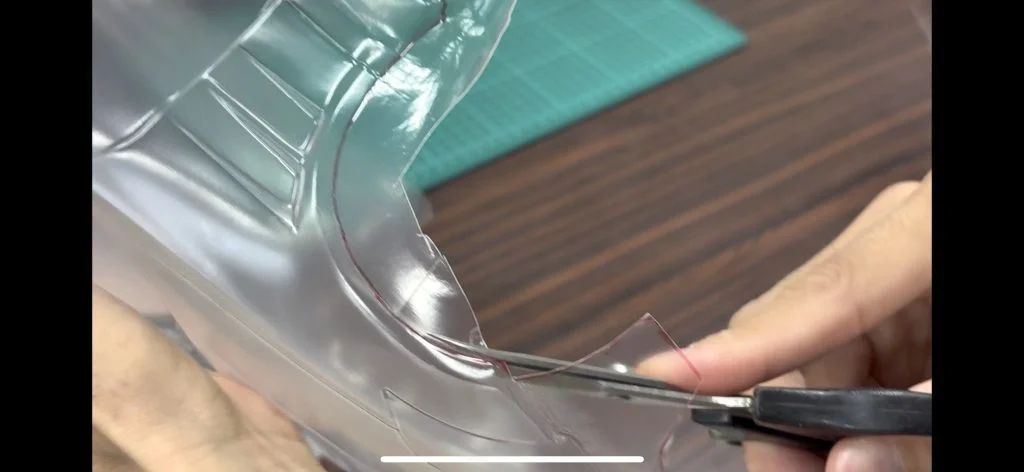
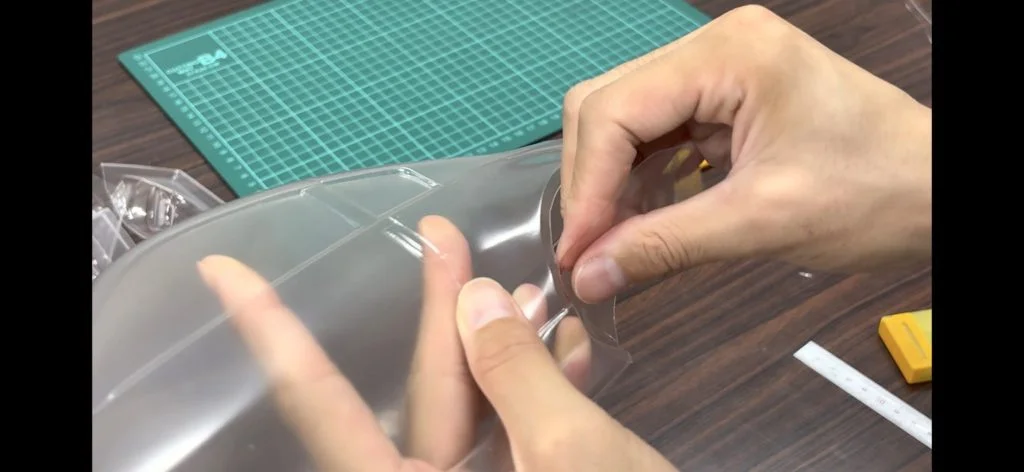
As shown in the image, there are flimsy areas depending on where you cut. If you don’t cut carefully, it may split, so be mindful to “cut while firmly supporting it” as indicated by the red circle in the image.
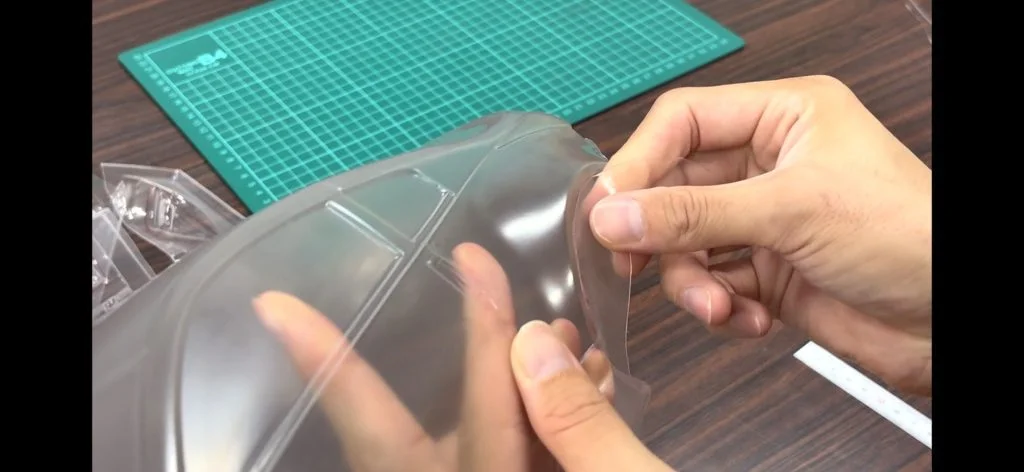
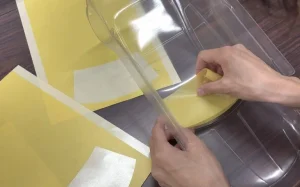
After making the incision with the design knife, you can peel it back like in the ↑ image to complete the cut! Use scissors to create a starting point, then gently peel it back. If you try to peel it all at once, the body might tear.
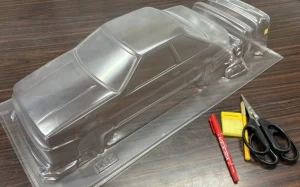
Proceed along the cut lines like this. Once all cuts are complete, move on to fitting the body shell and bumper together!!
First, align the body and bumper to identify any areas where they interfere with each other.
I’ll trim away the interfering parts to shape it. Better late than never, but I’ve included a video on how to use a design knife below for reference. For a beginner like me, the grip and movement techniques made it so much easier to use—I was amazed at how much difference it made!
And with that, the alignment is complete. Of course, we’ll also align the rear bumper, but we’ll skip that part here.
Next time, we finally move on to the masking section!
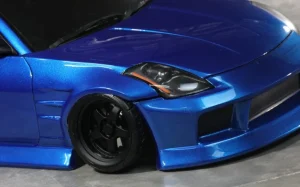
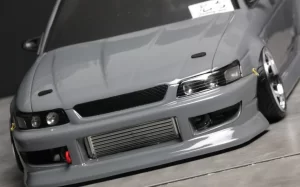
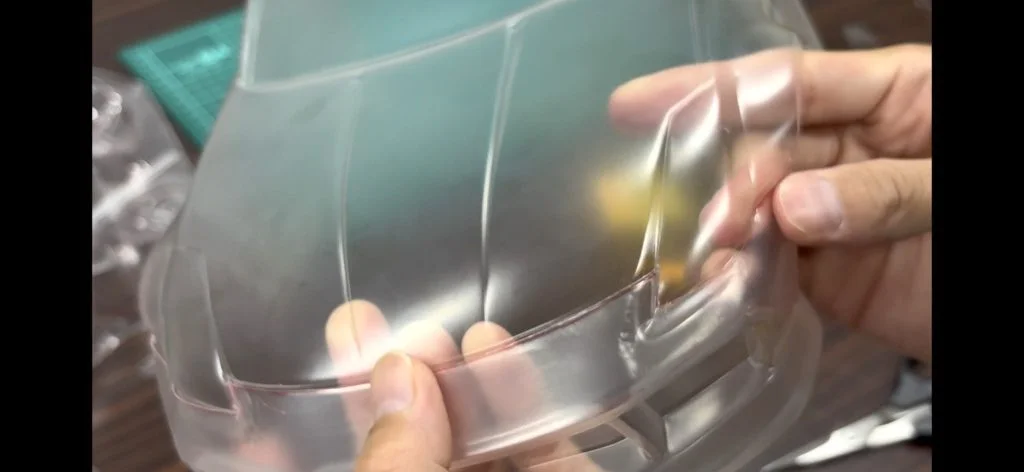
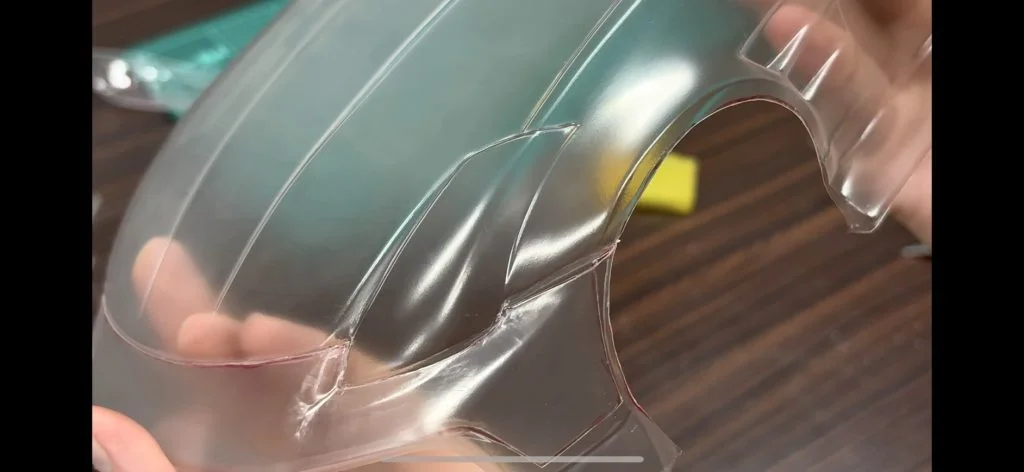
With the cutting complete, the Z33’s silhouette is now clearly visible.
Next time, I’ll tackle the crucial pre-painting step: masking. (And cleaning, of course!)
I’ll share insights and tips from a beginner’s perspective, so stay tuned!