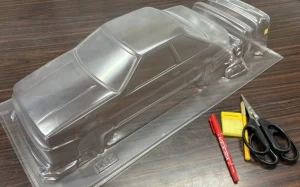
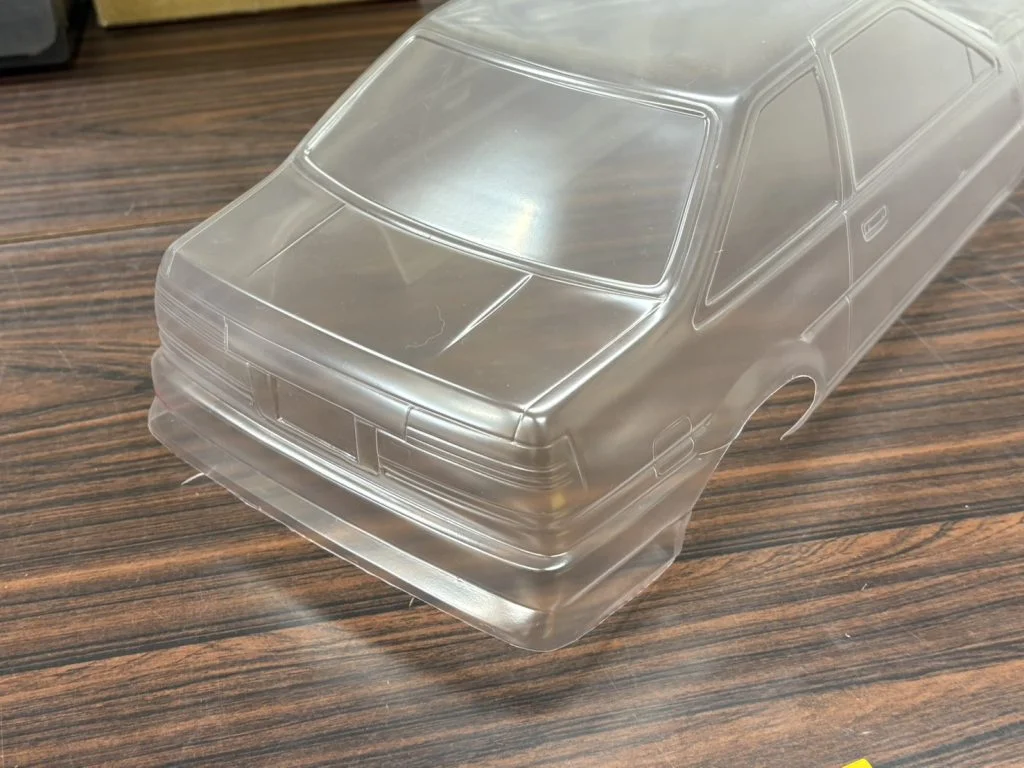
When building an AE86 Levin 2Dr body, many people struggle with questions like, “Where exactly should I cut?”
This article clearly explains the cutting lines for the front bumper, rear bumper, side steps, and light areas, complete with photos. It’s useful not only for those just starting their build but also for anyone aiming for a realistic finish.
Front Bumper Edition
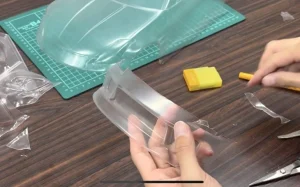
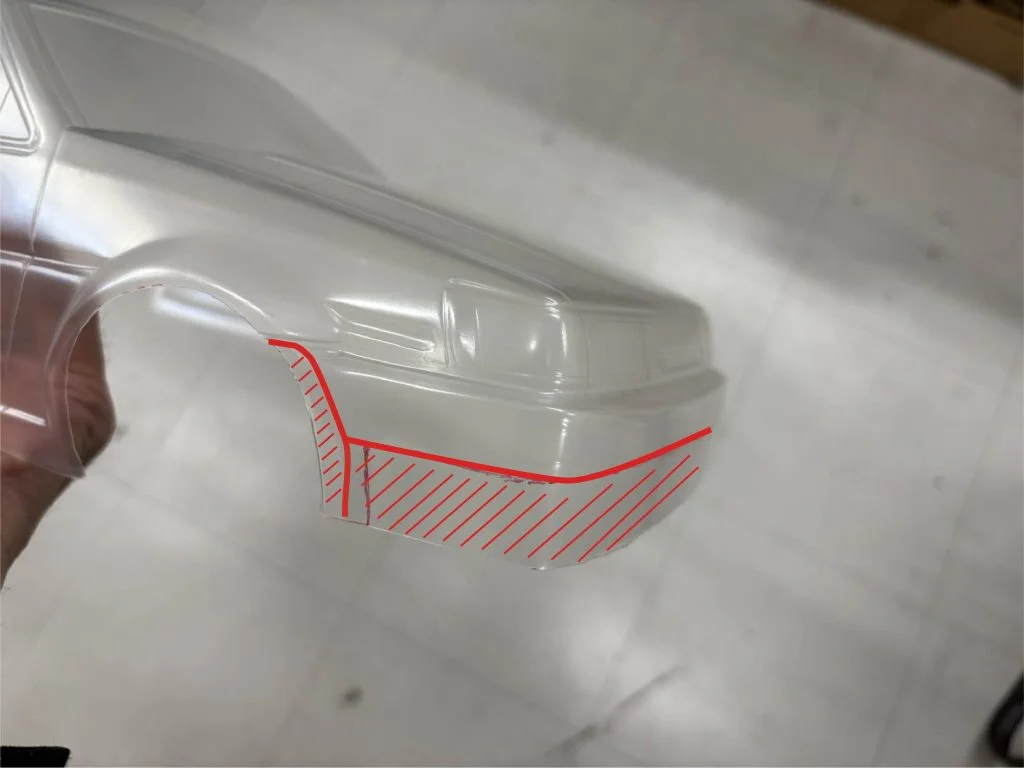
The front bumper for the AE86 Levin 2Dr comes in two patterns: “when used as an integrated unit” and “when using a separate bumper.”
When you want to achieve a seamless finish
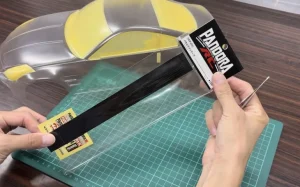
Processing along the image cut lines allows the bumper to be used as a single unit. Recommended for RC beginners or those seeking a simple finish.
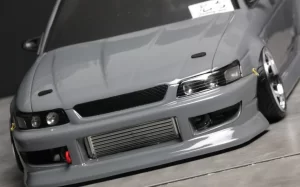
If you do not use the separate bumper, processing along the cut line shown in the ↑ image will allow you to use the bumper as a single unit. For those seeking realism, use the separate bumper without hesitation.
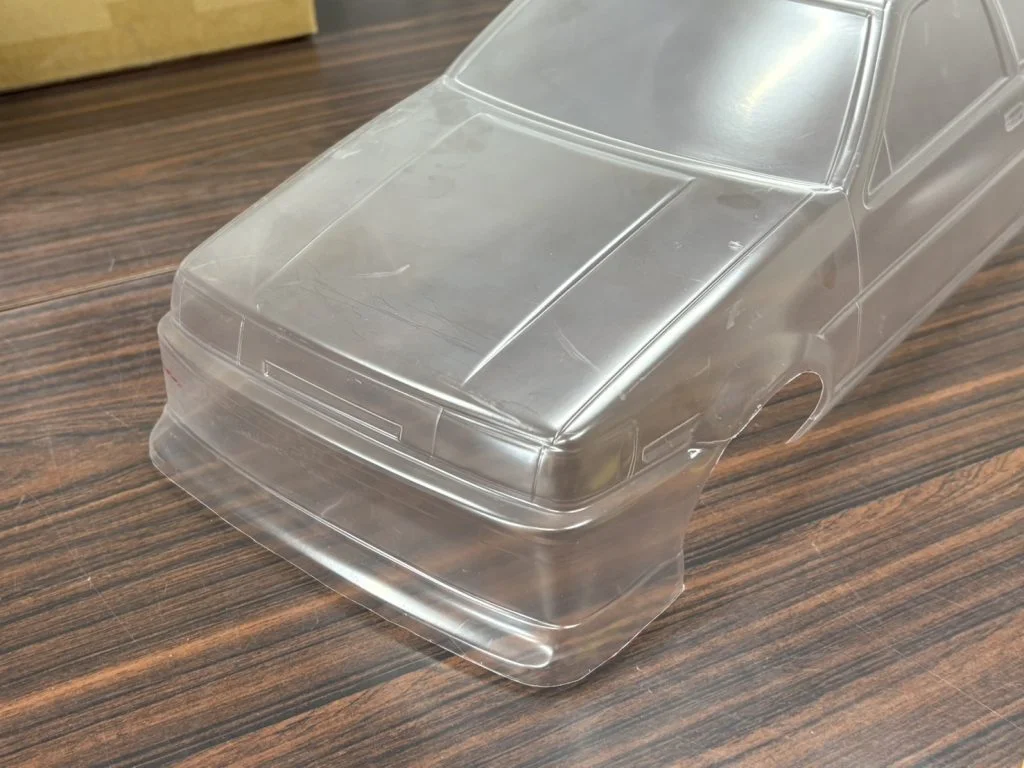
Here’s how it turned out.
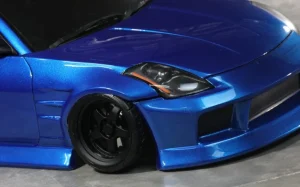
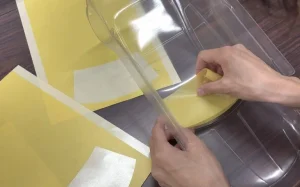
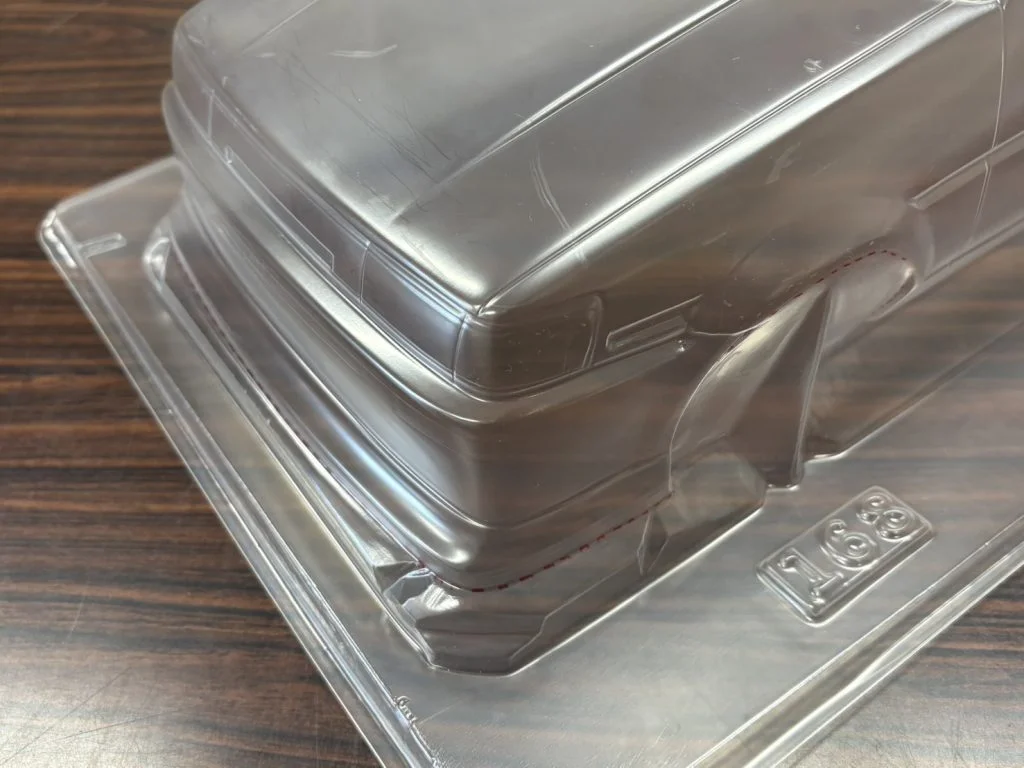
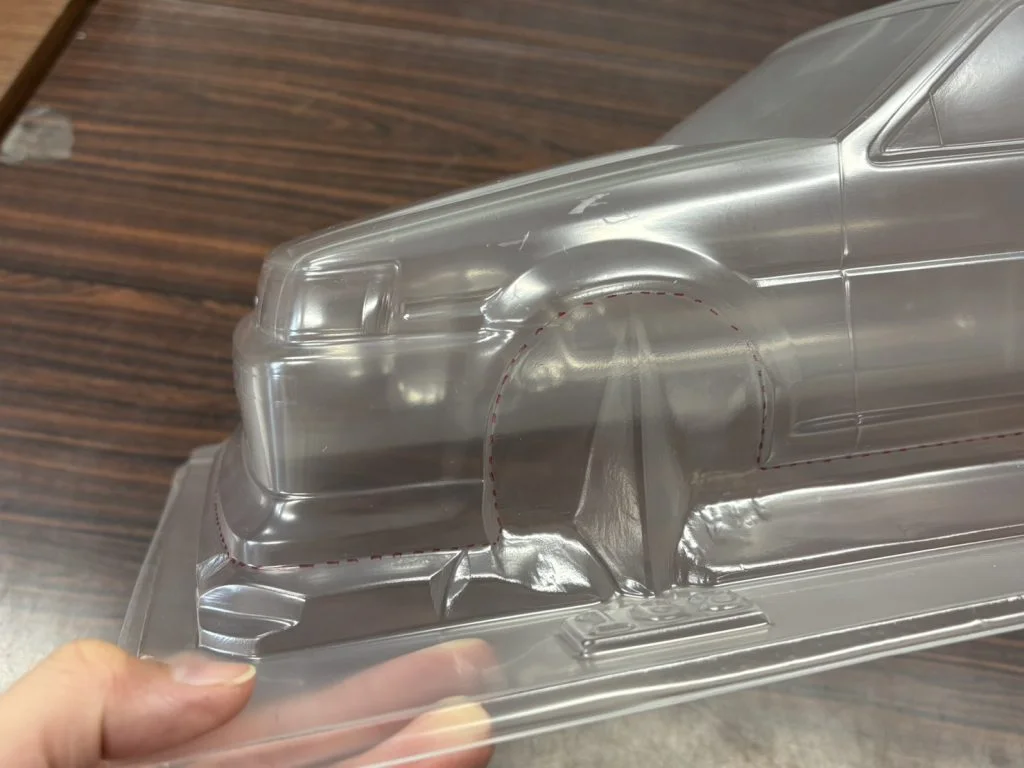
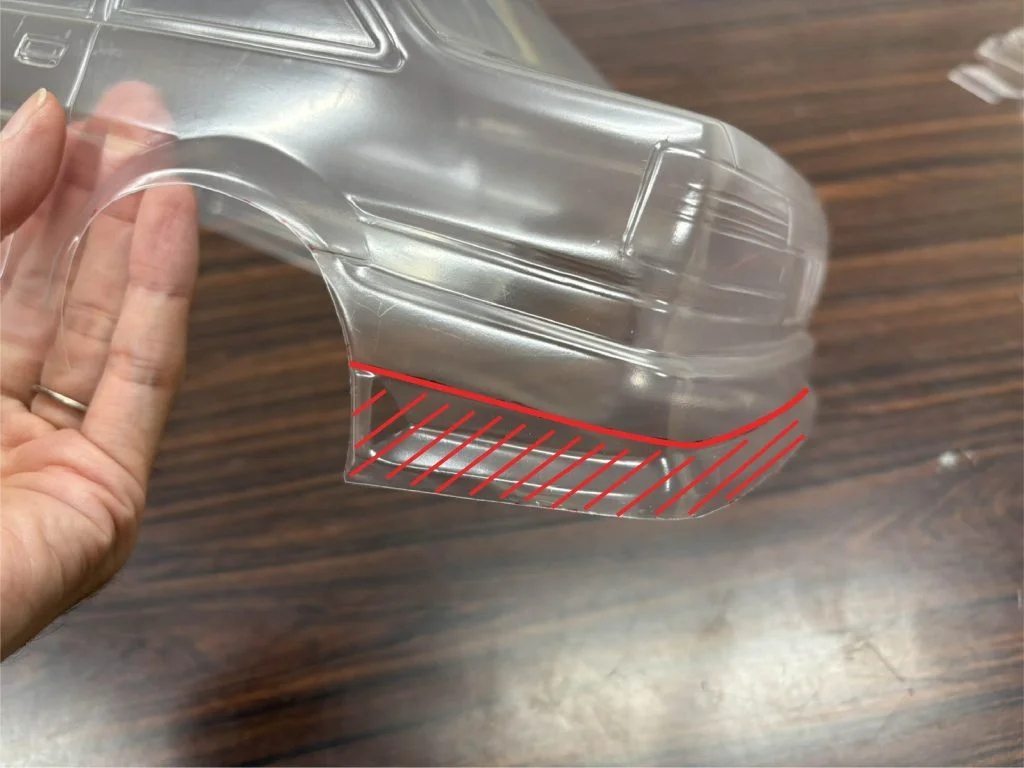
When using a separate bumper
Cut along the dotted lines as shown in the image. For a more realistic look, this method is recommended. (Please give this a try!!)
Rear Bumper Edition
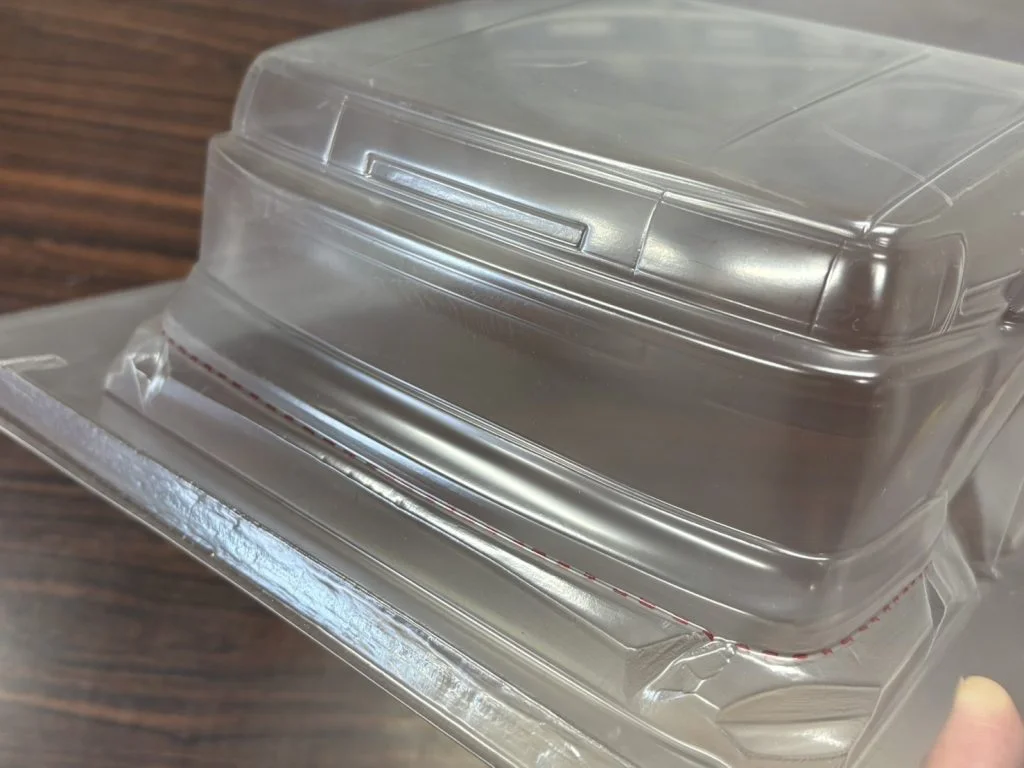
The rear bumper, like the front bumper, comes in two types: integrated and separate bumper types.
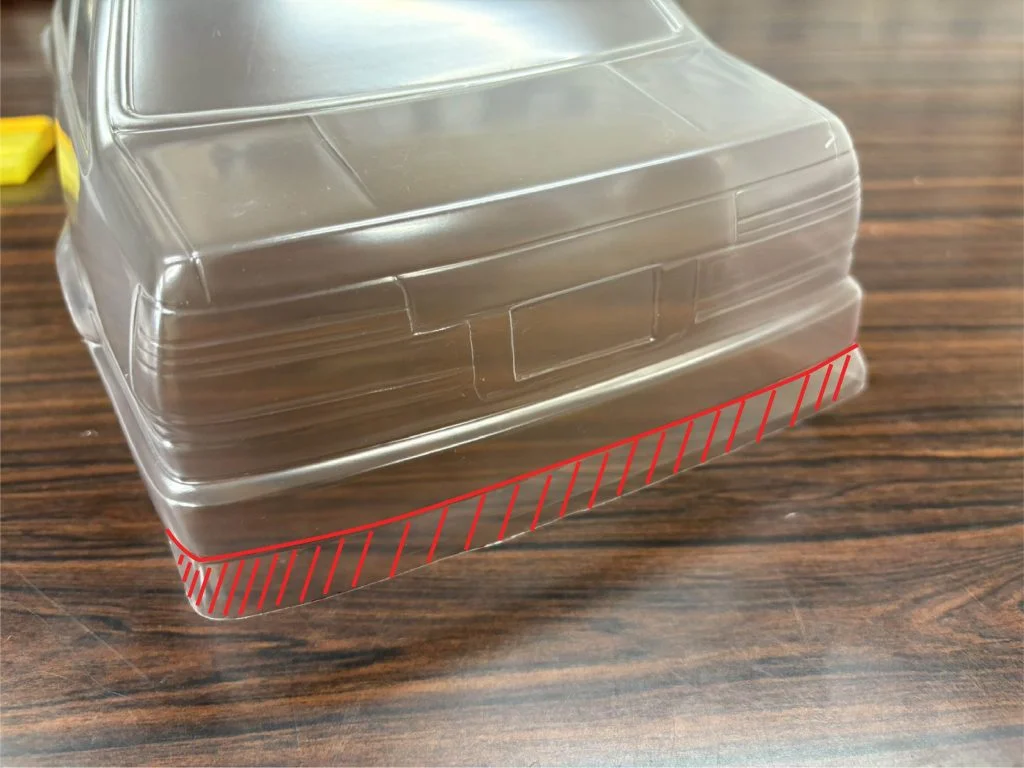
When you want to finish it as an integrated unit

If you are not using a separate bumper, please process along the cut line shown in the ↑ image.
Here’s how it turned out!!
When using a separate bumper
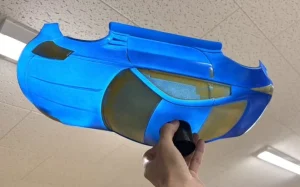
When using a separate bumper, cut the diagonal section as shown in the ↑ image.
Body Section (Other)
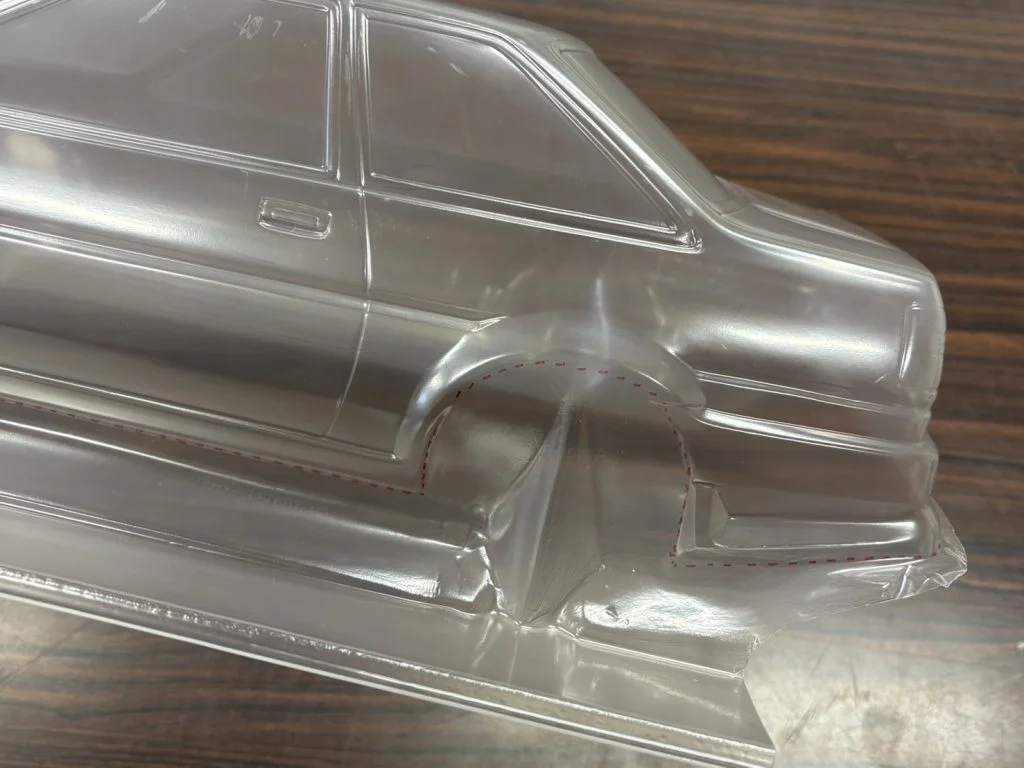
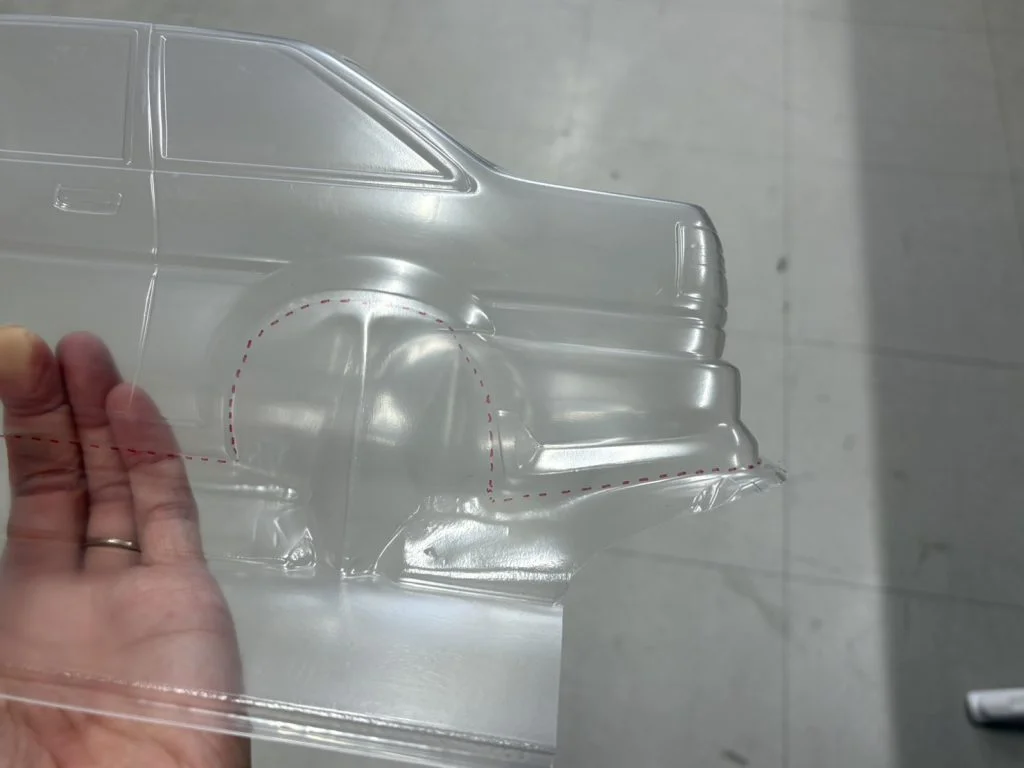
Wheel arches (front/rear)
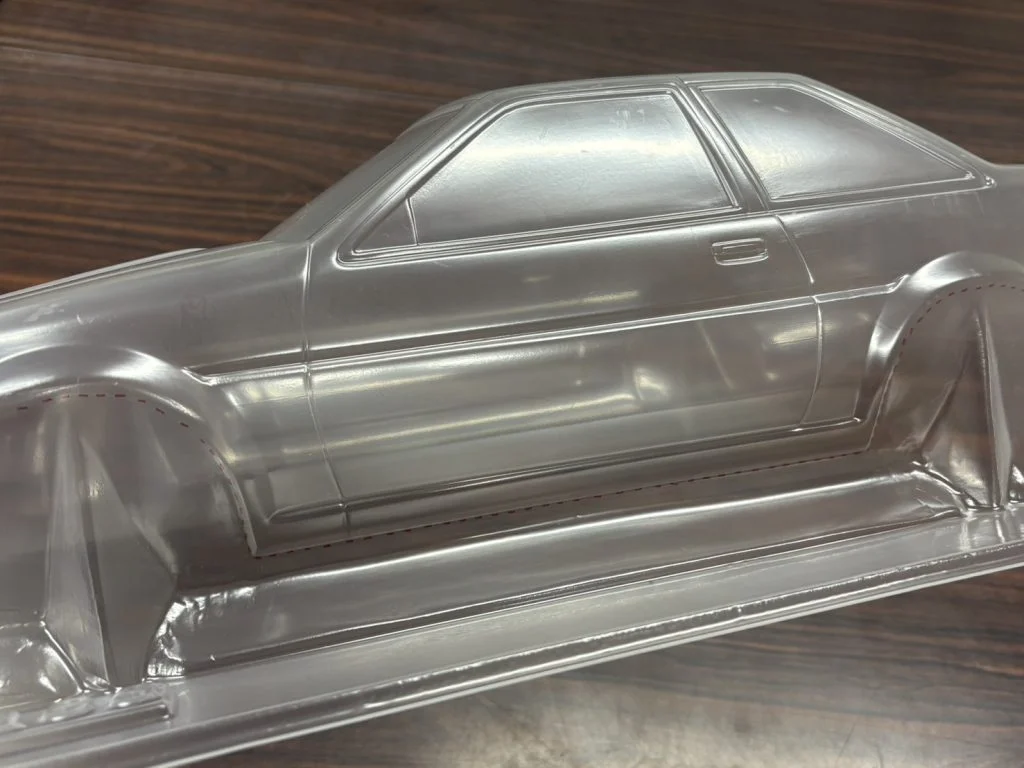
Side step
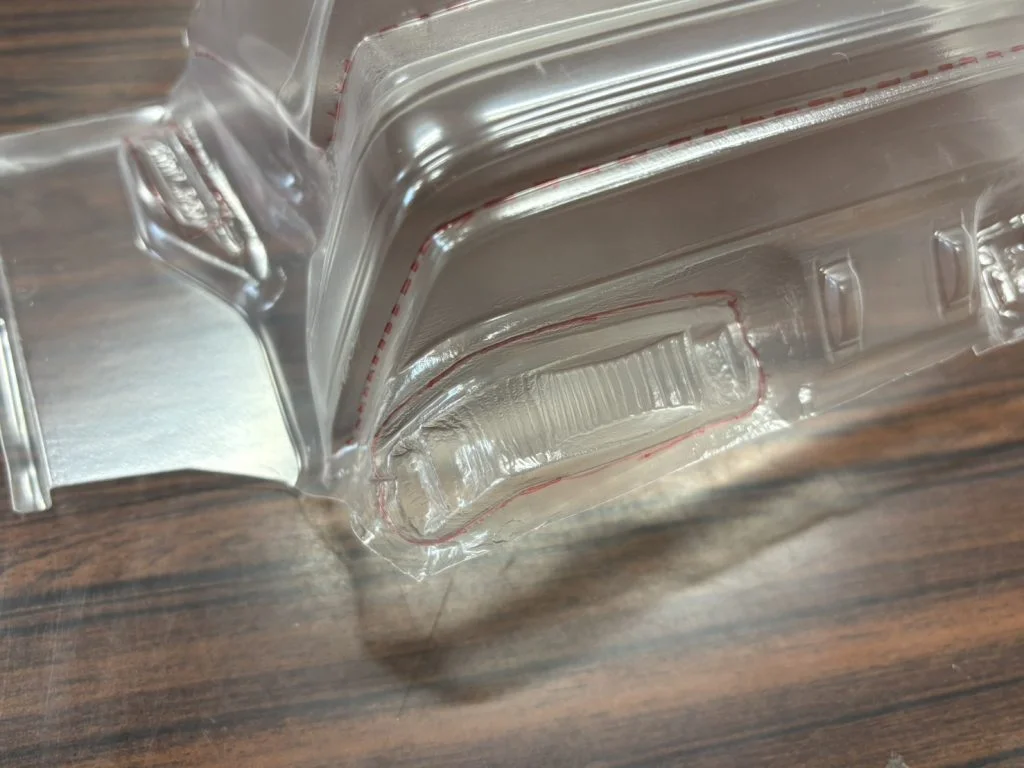
Light Edition
headlight
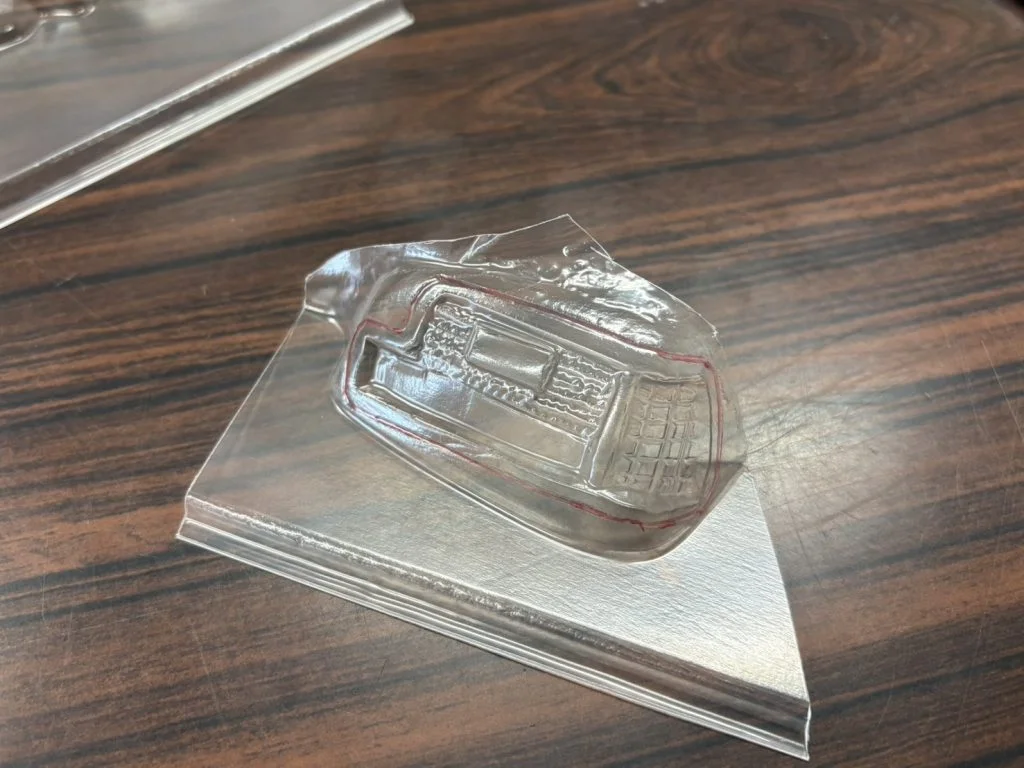
tail light
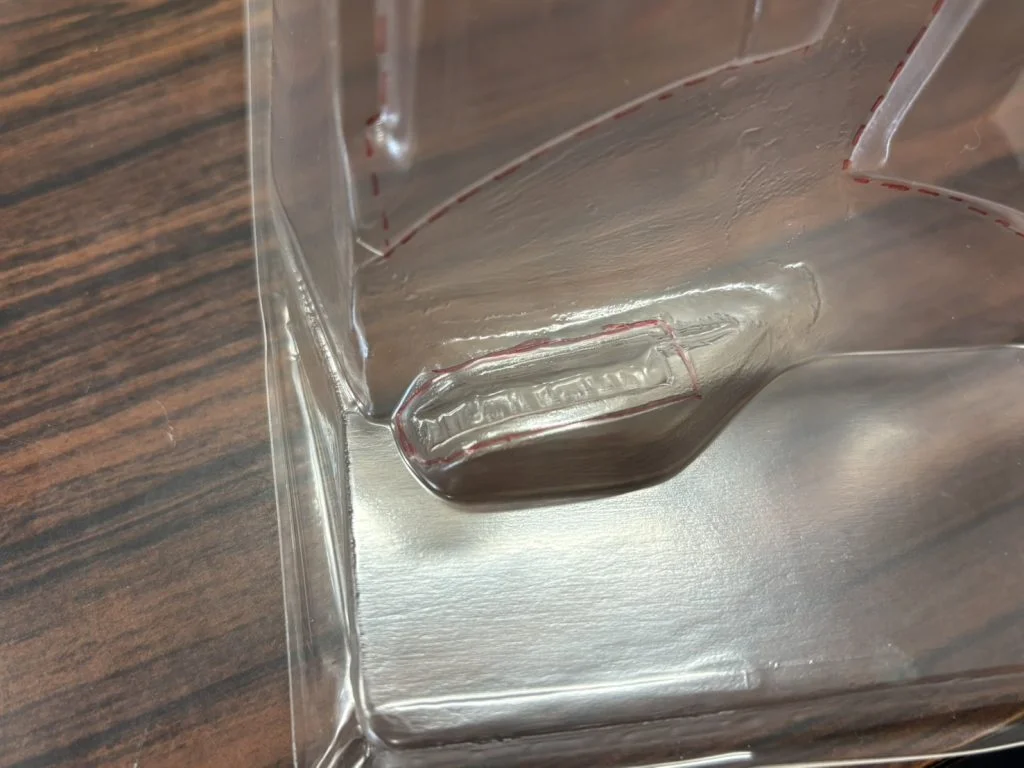
フロントバンパーウインカー
These light parts enhance realism when used as inner components from the rear of the main body! Applying a chrome finish achieves a sufficiently realistic appearance!